SPUD News & Info
Drinking Water Fact Sheet_COVID-19.pdfWhere My Water Comes From.pdfSierraville PUD Pump Station Power Point Tour 02.19.24.pdf


















2019 Water Storage Tank Replacement Project Photo Gallery!

The remains of our old, unused water tank

With the old tank removed, site work begins on footprint for new tank

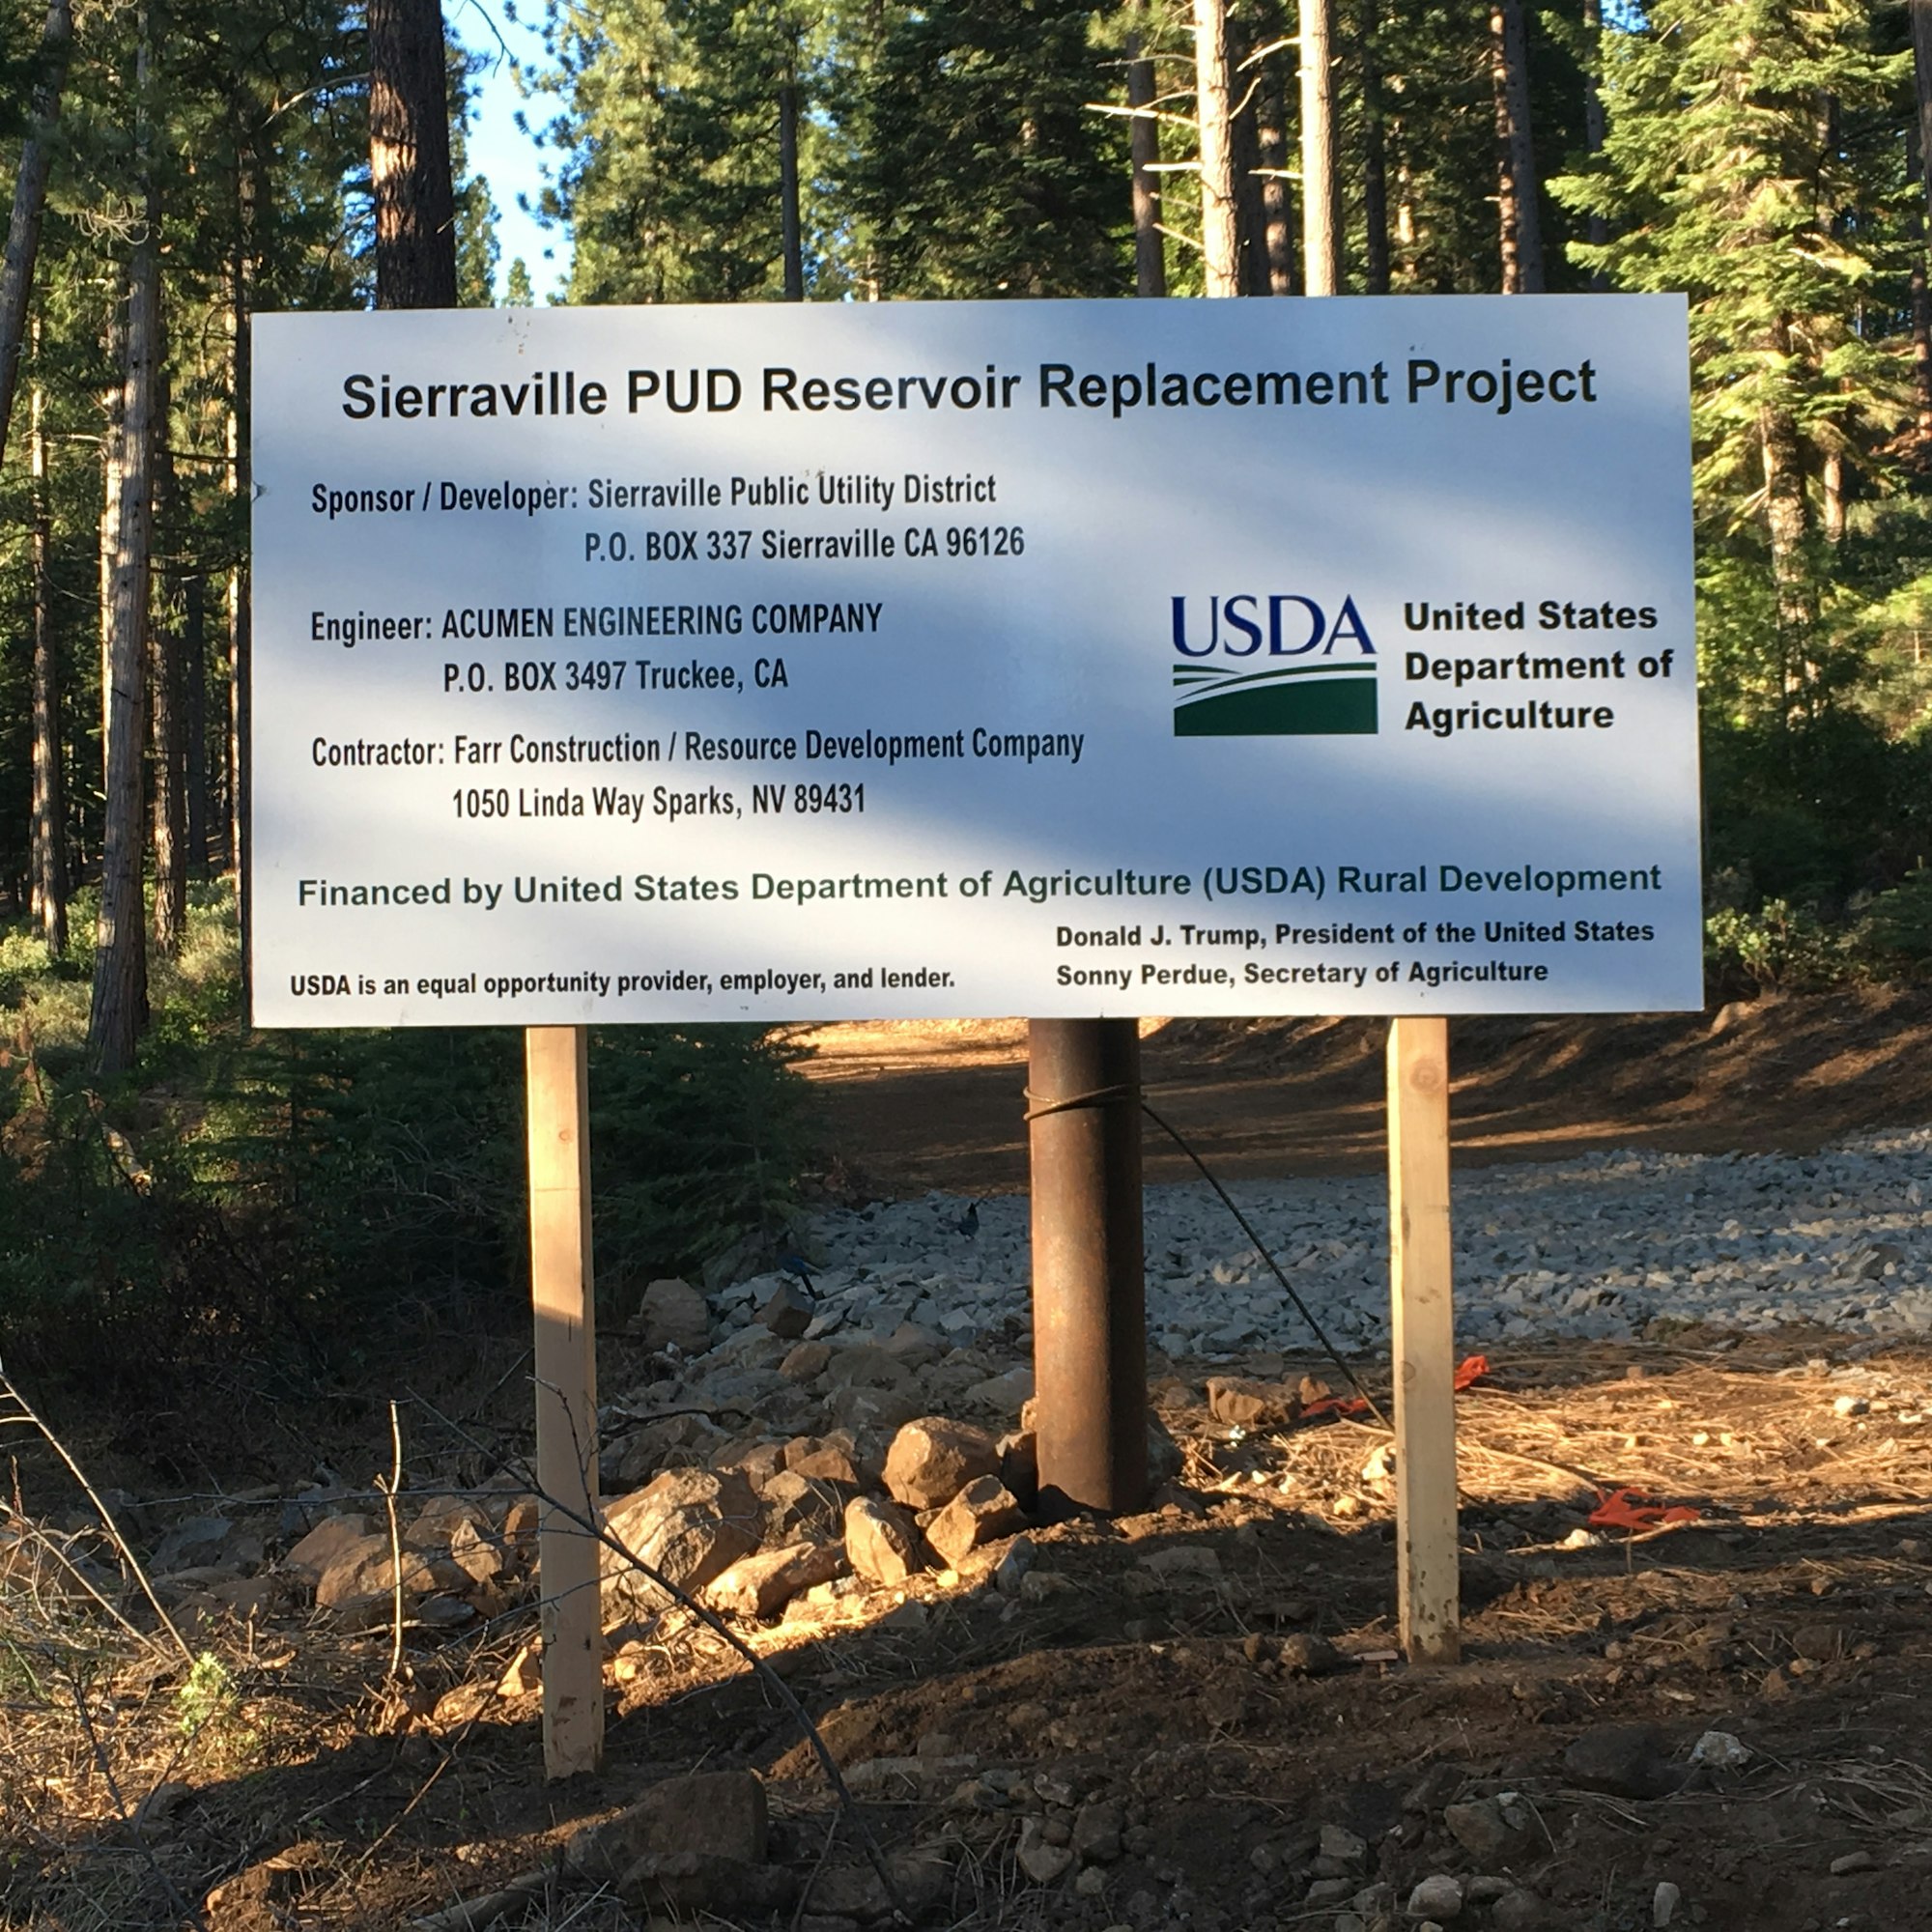
Sign at project entrance on Old Truckee Road notes contractor, engineer, and finance partners,

Spoils from excavated area are used to partially fill the (very!) old reservoir

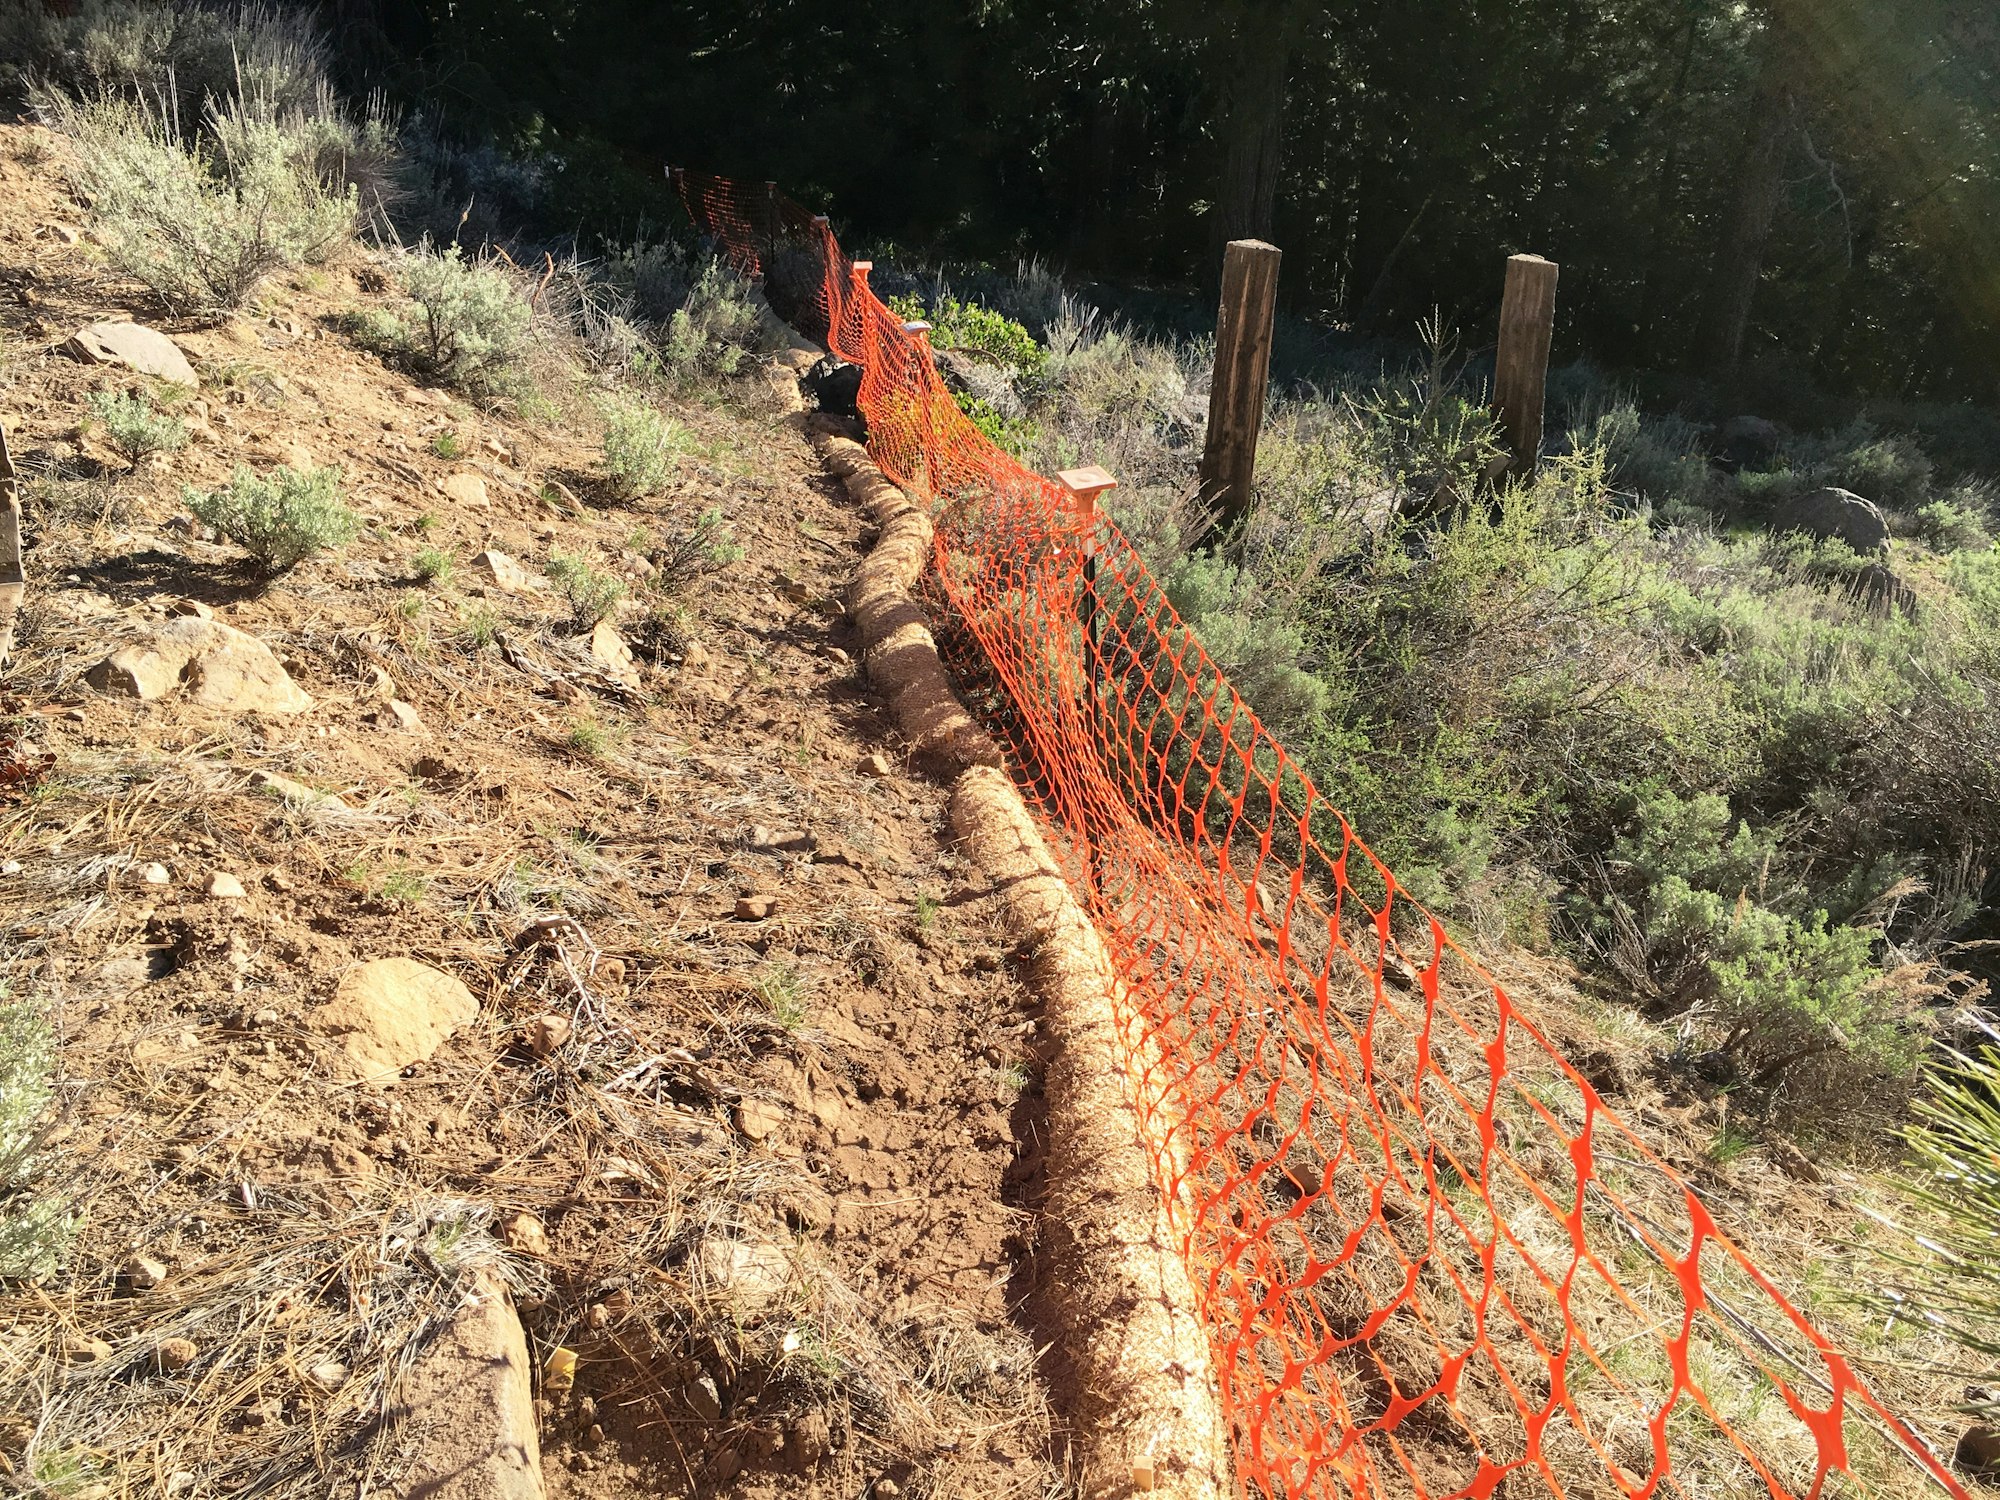
Best Management Practices include use of silt fencing and erosion wattles

The Beast

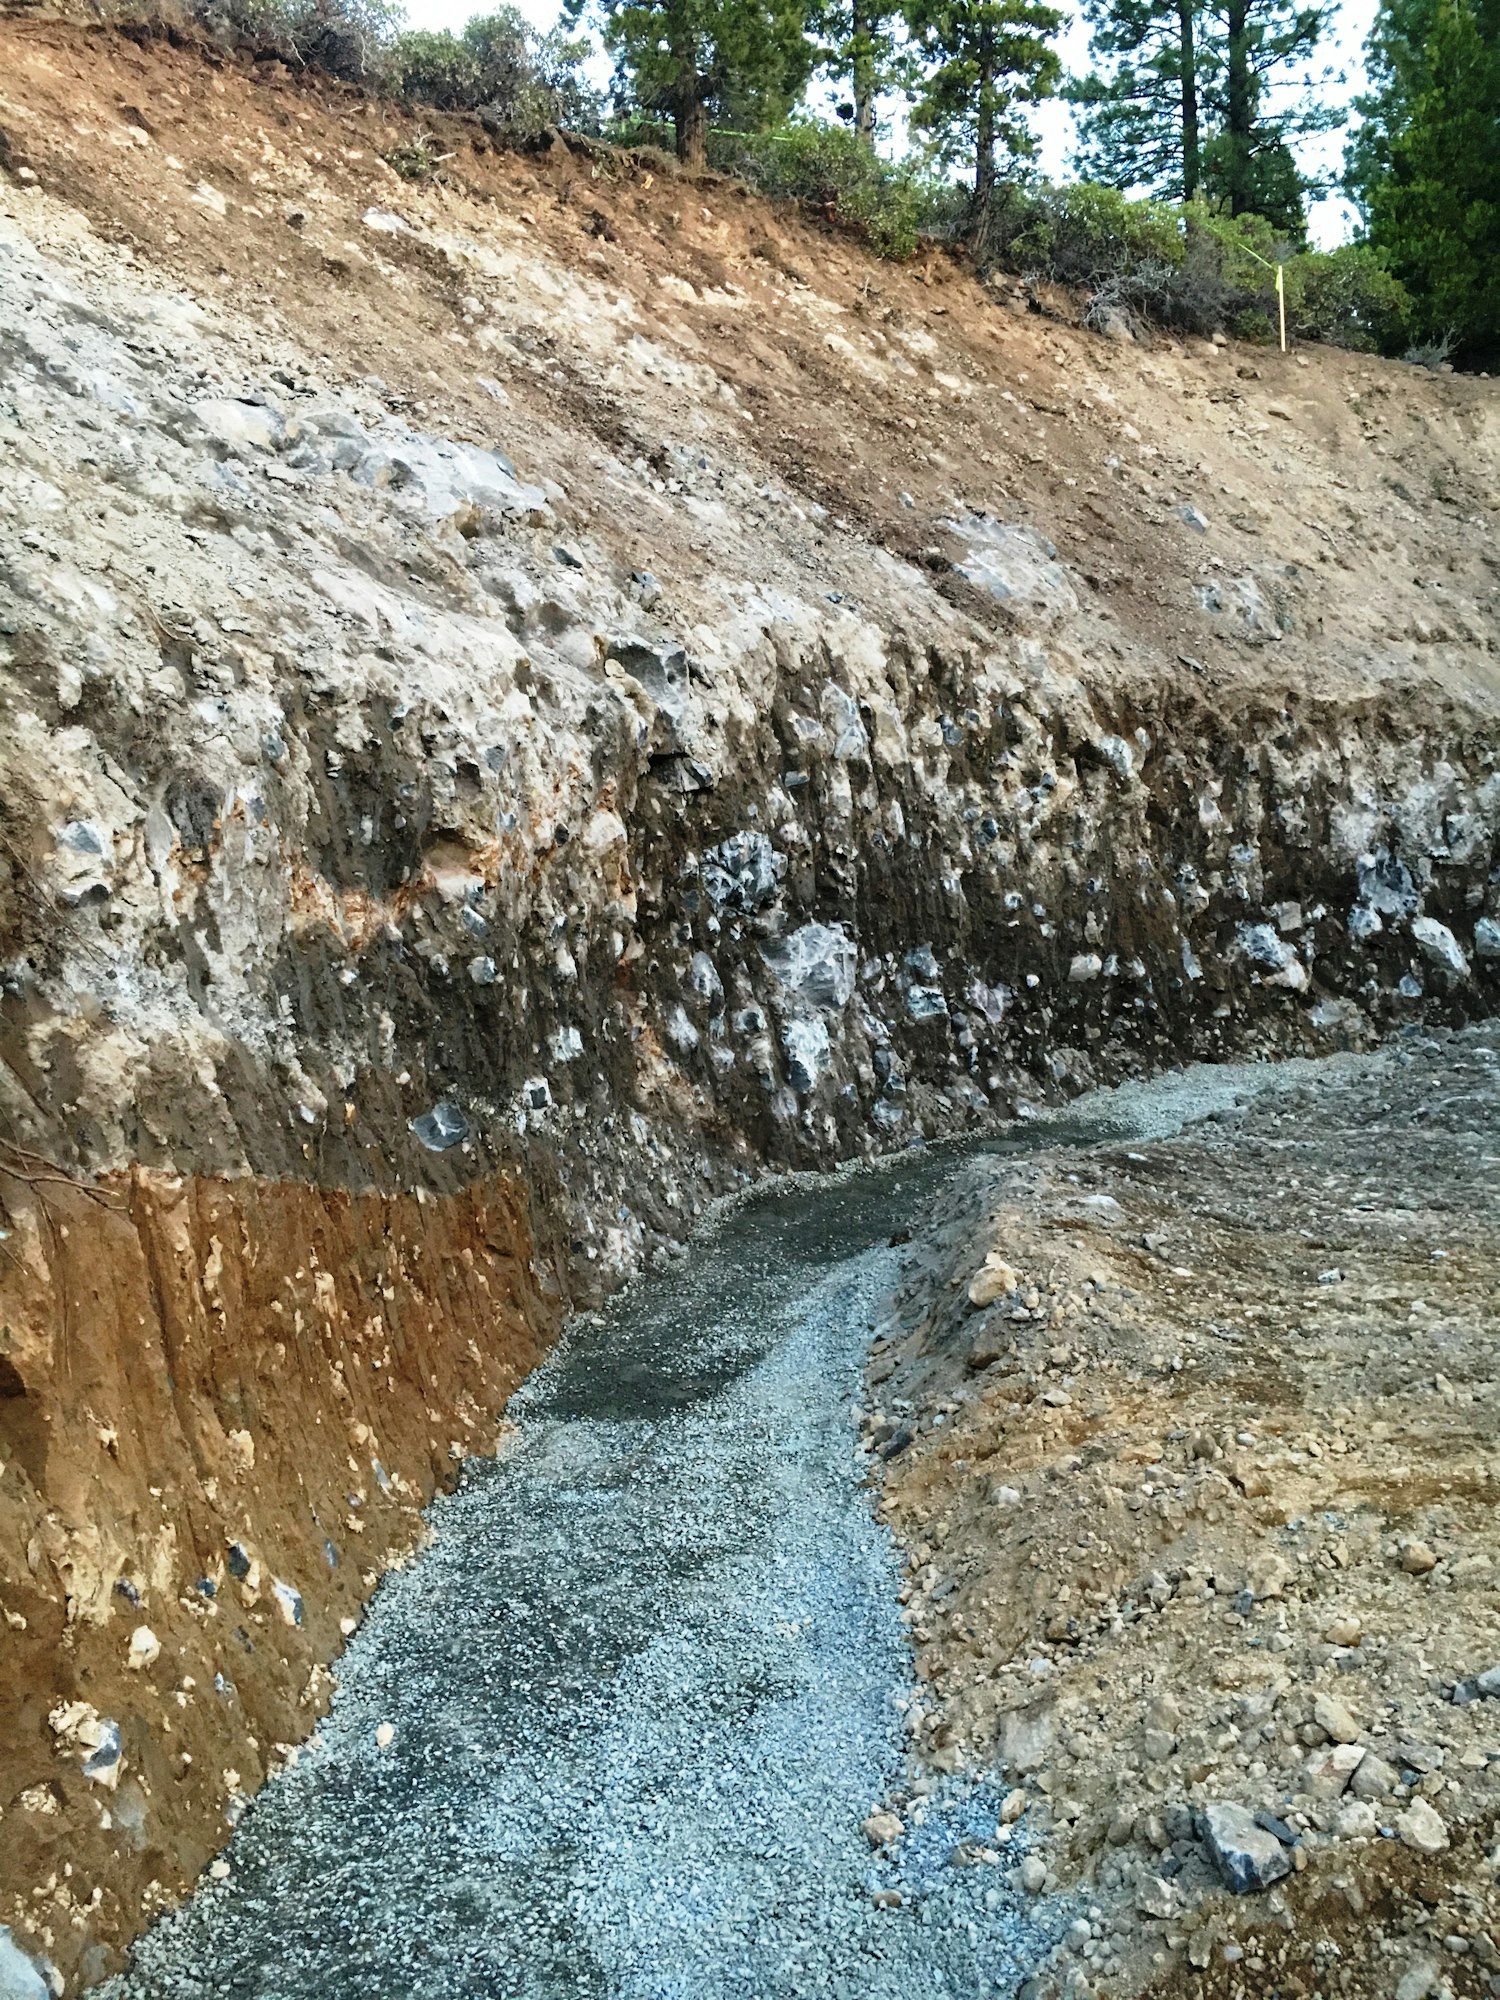
5/1 Large rocks were encountered that will require jackhammer work

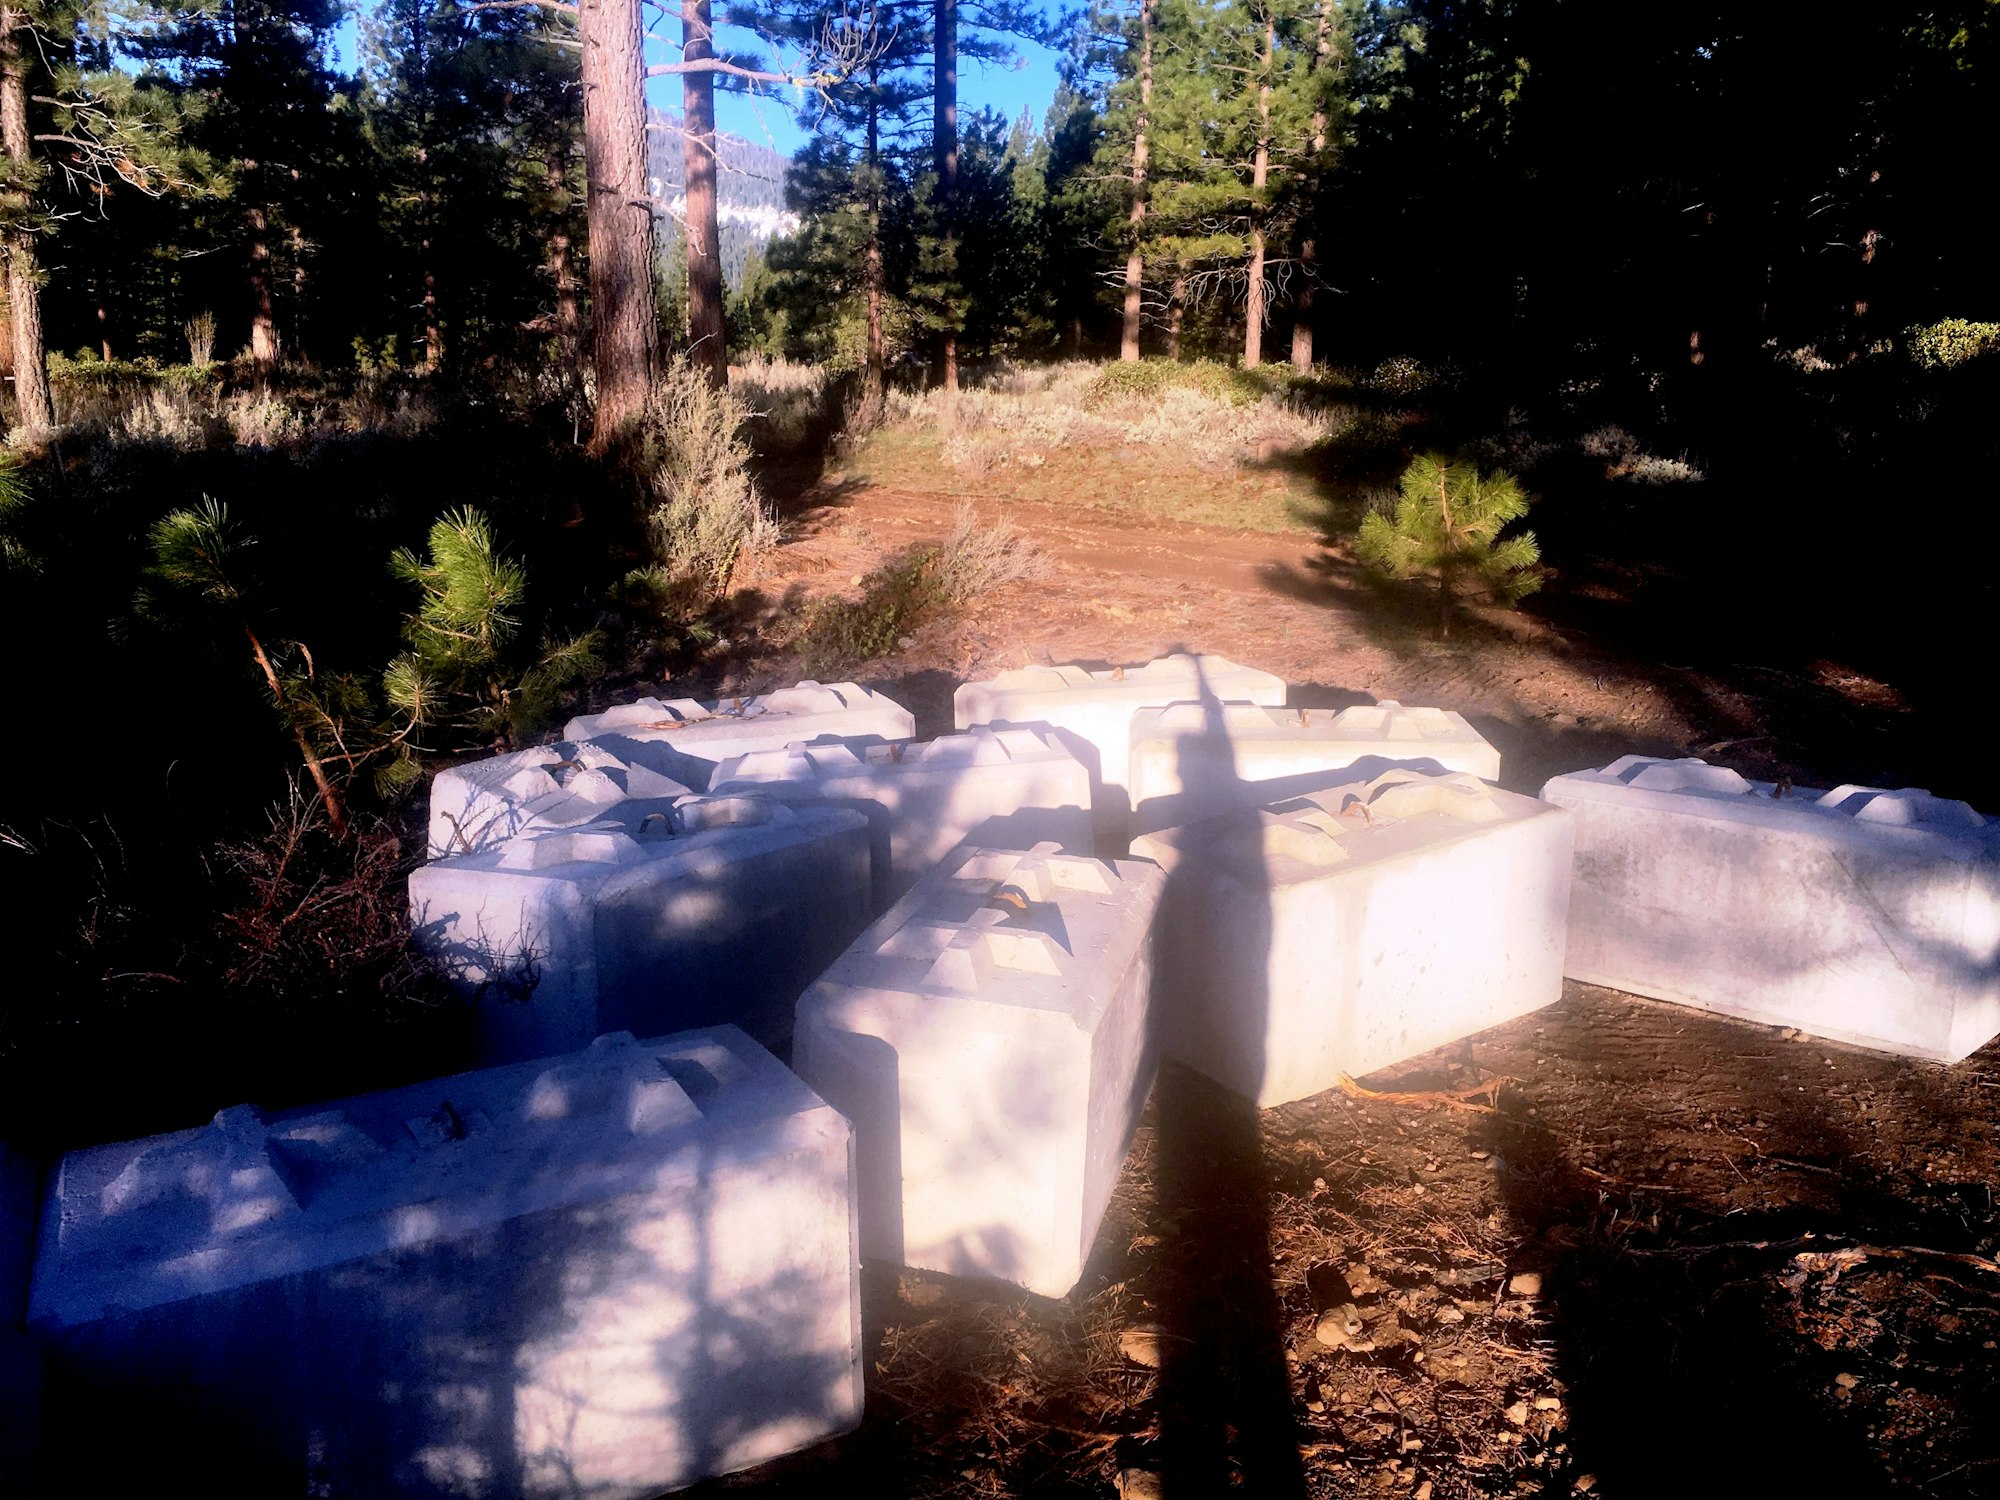
5/1 Pre-cast concrete blocks will serve as slope retention

5/2 Tractor-mounted Jackhammer makes quick work of large boulders

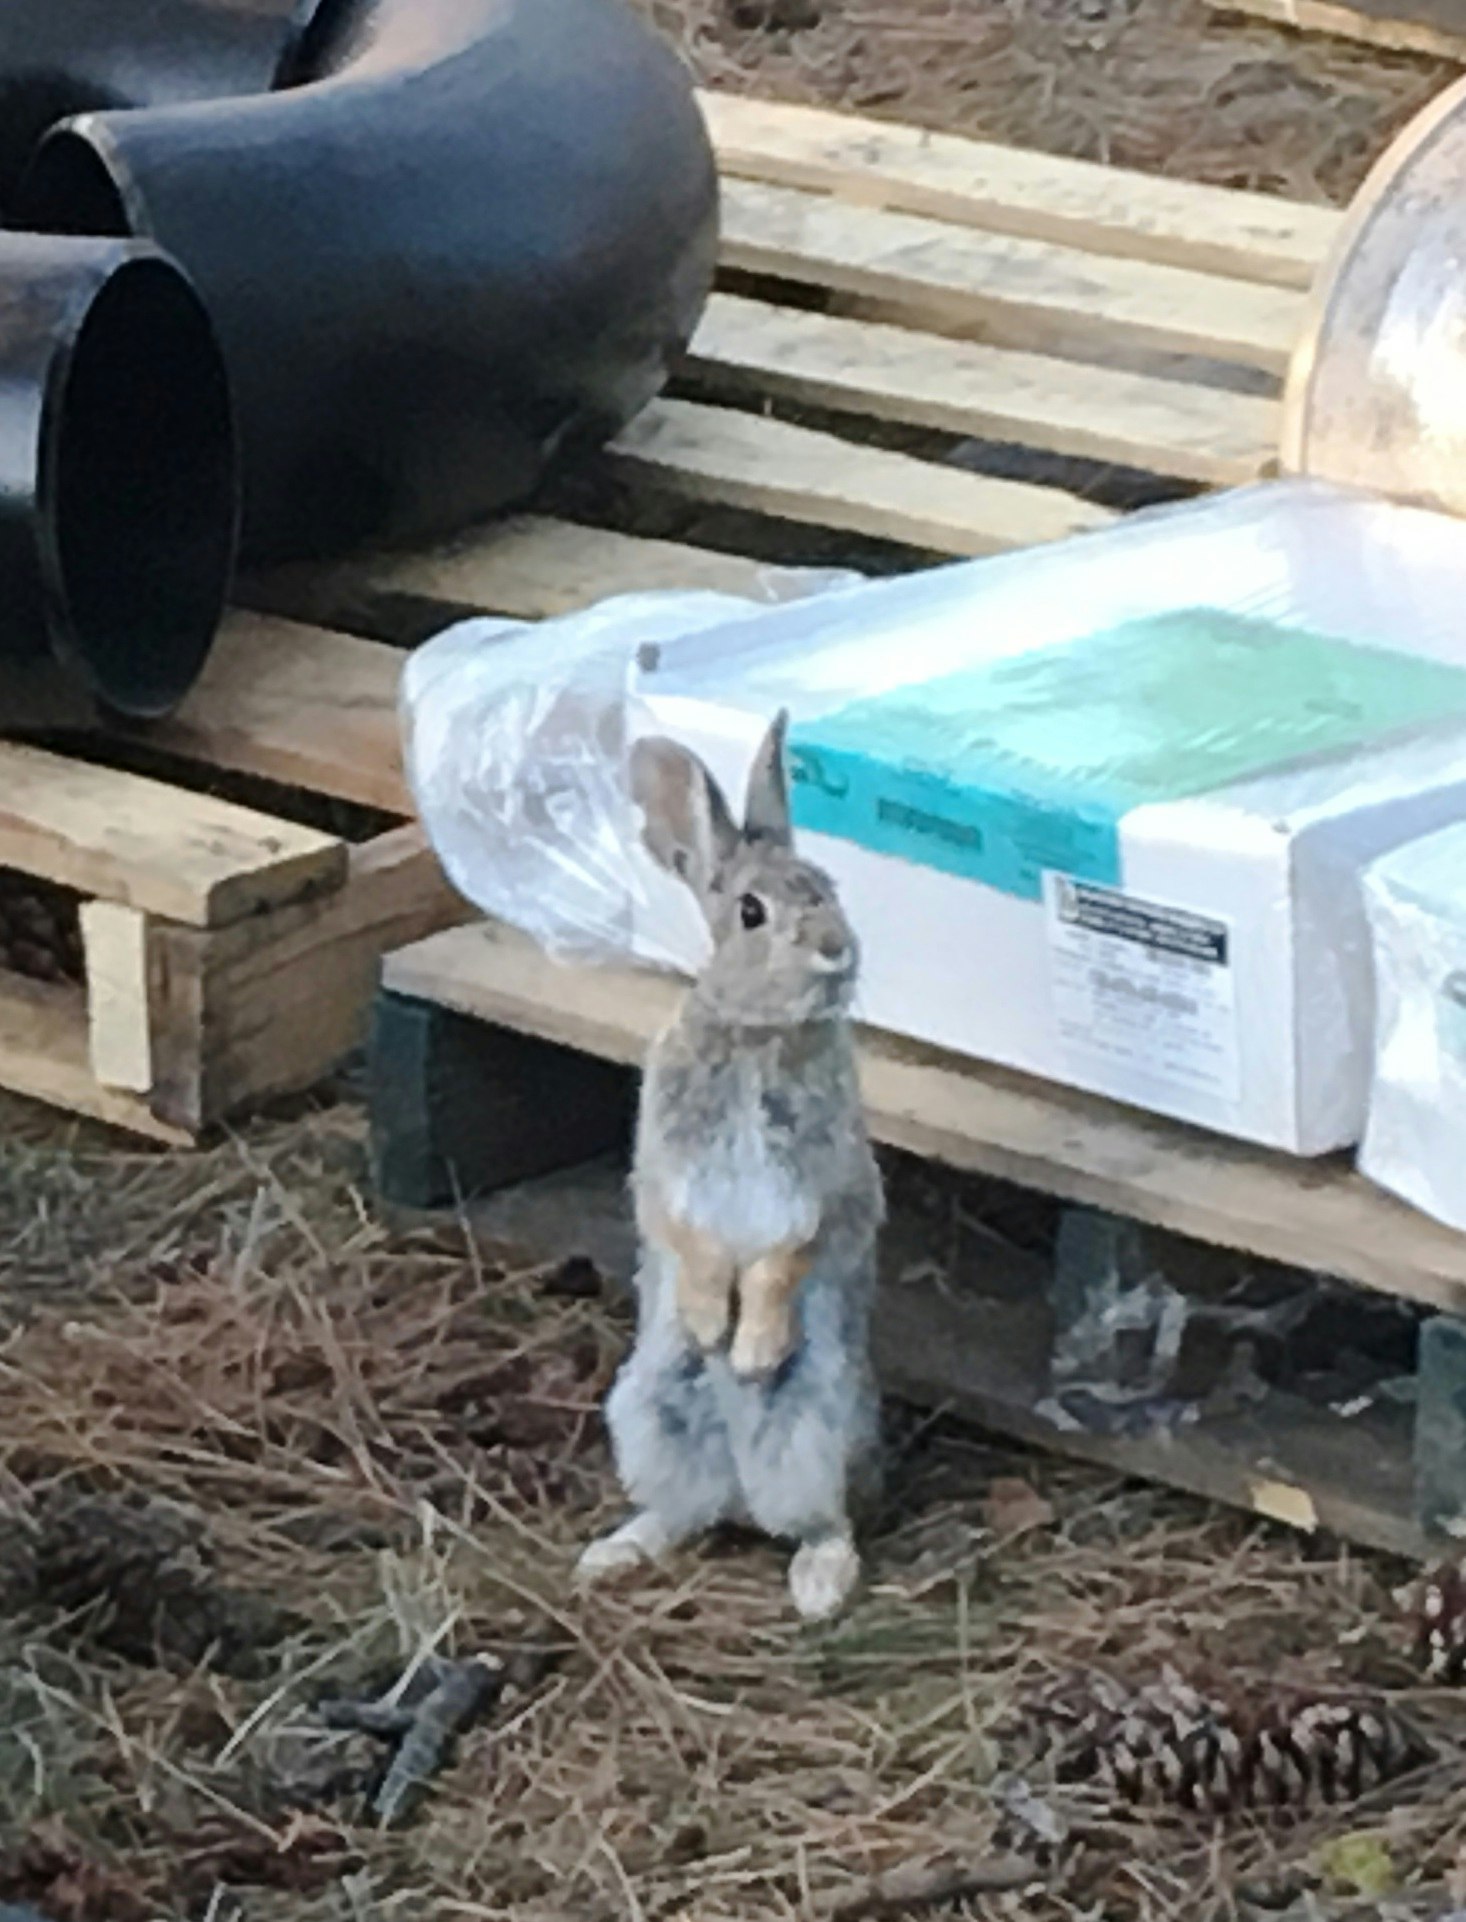
5/2 Staging of pipe and parts. Look closely to spot the Guard Bunny

5/2 Excavating below grade to accommodate the pre-cast concrete barriers

5/2 Guard Bunny at attention

5/3 Base rock added to support pre-cast concrete blocks

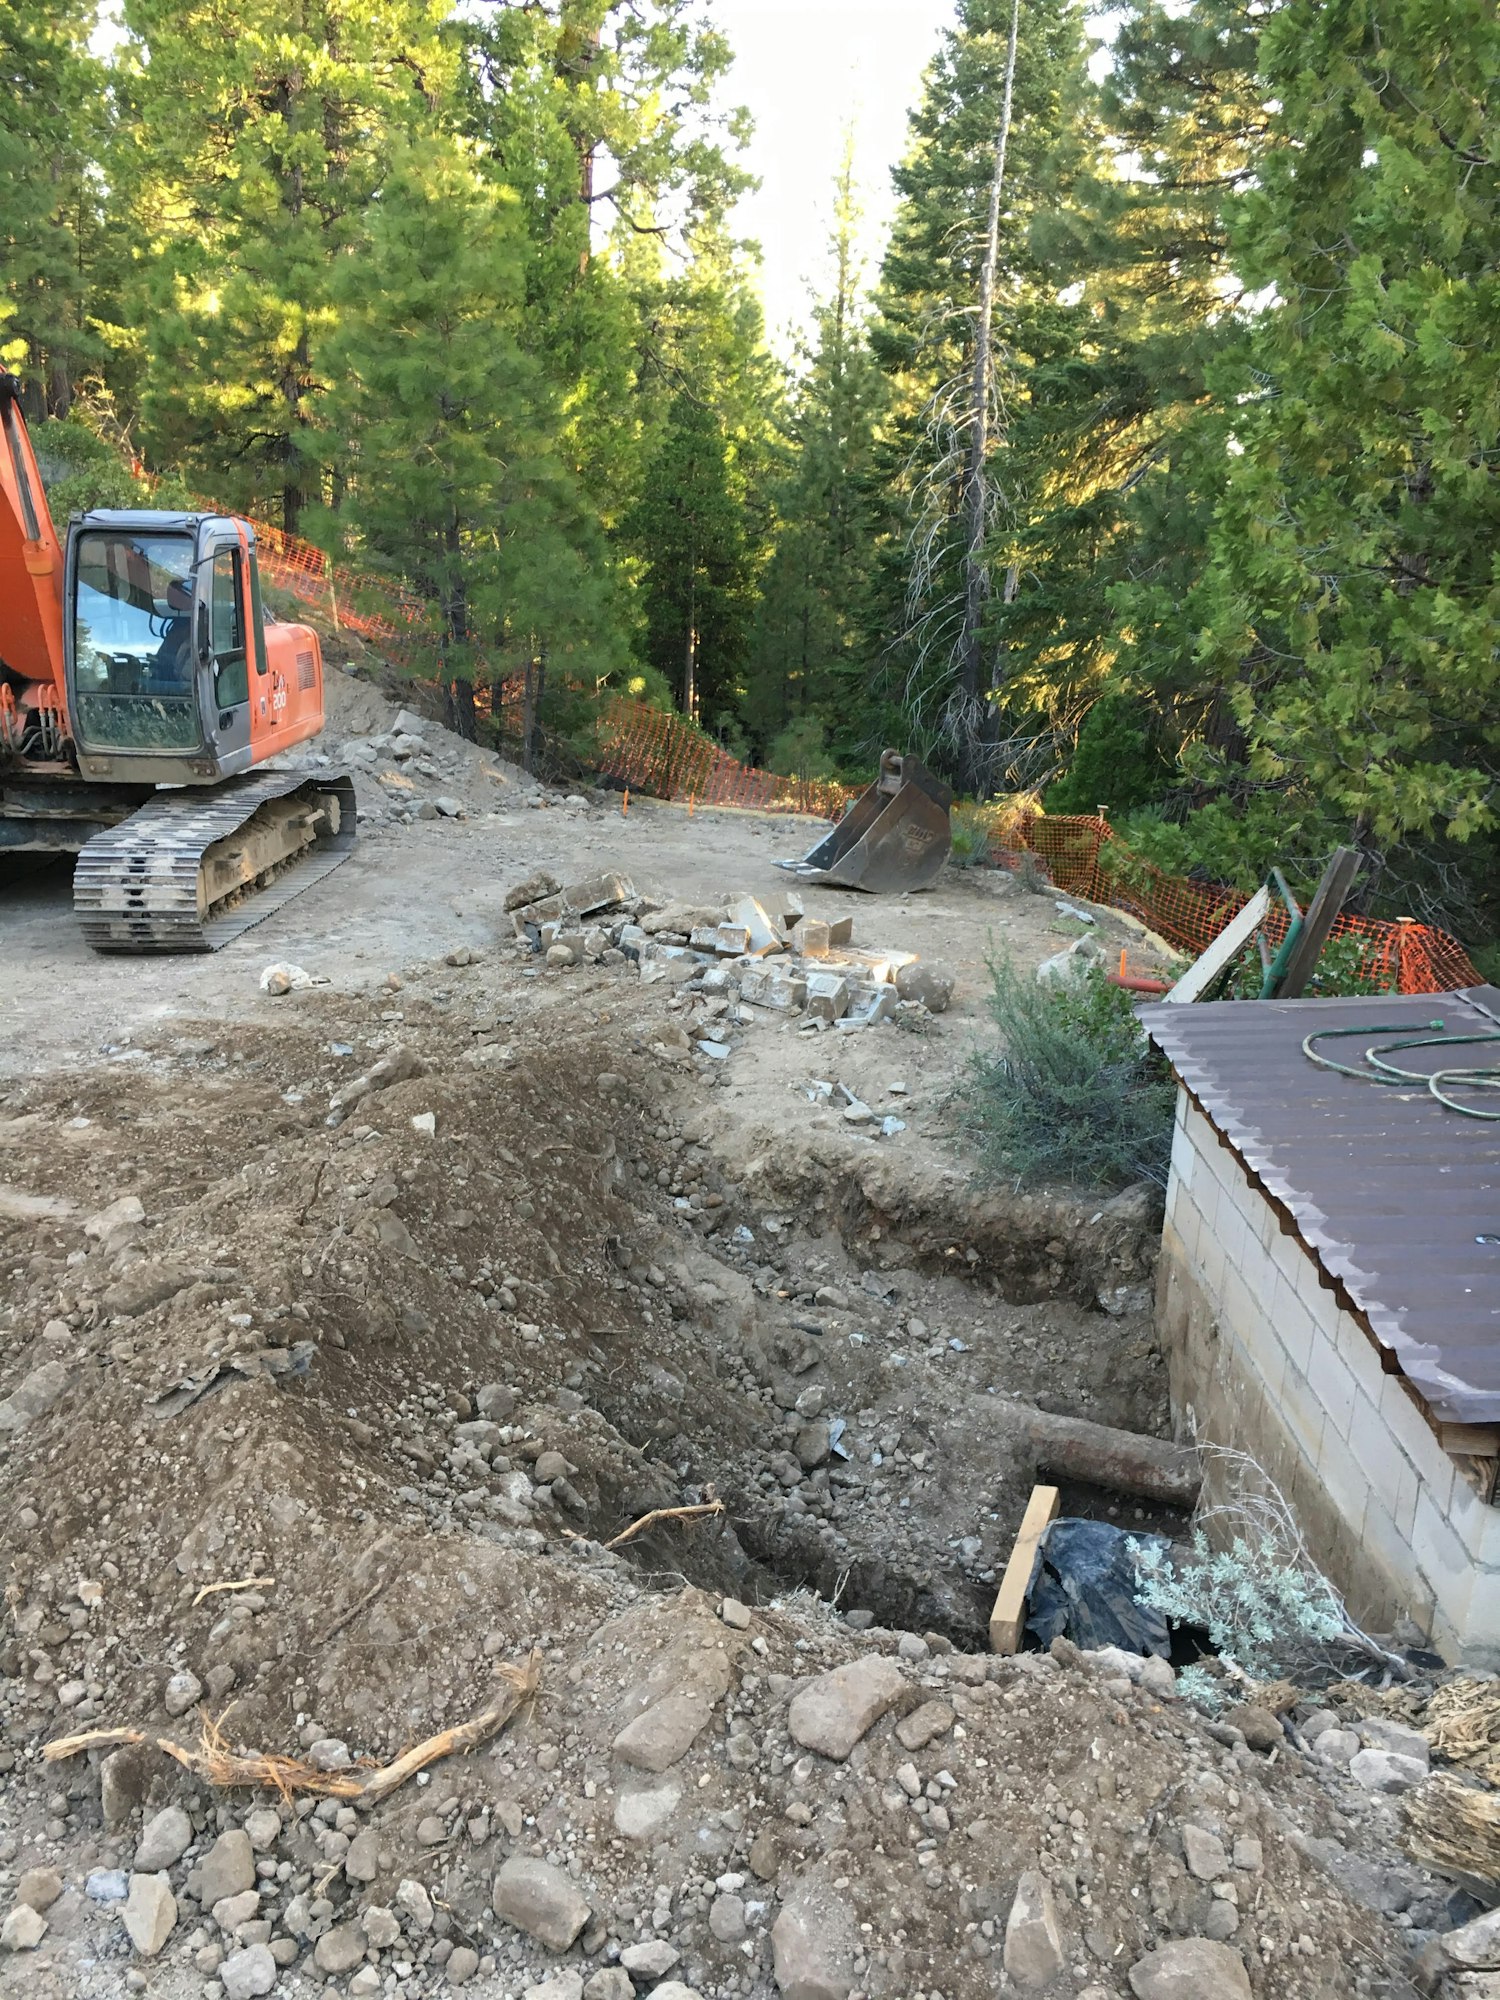
5/10 Exposing existing piping for new connections

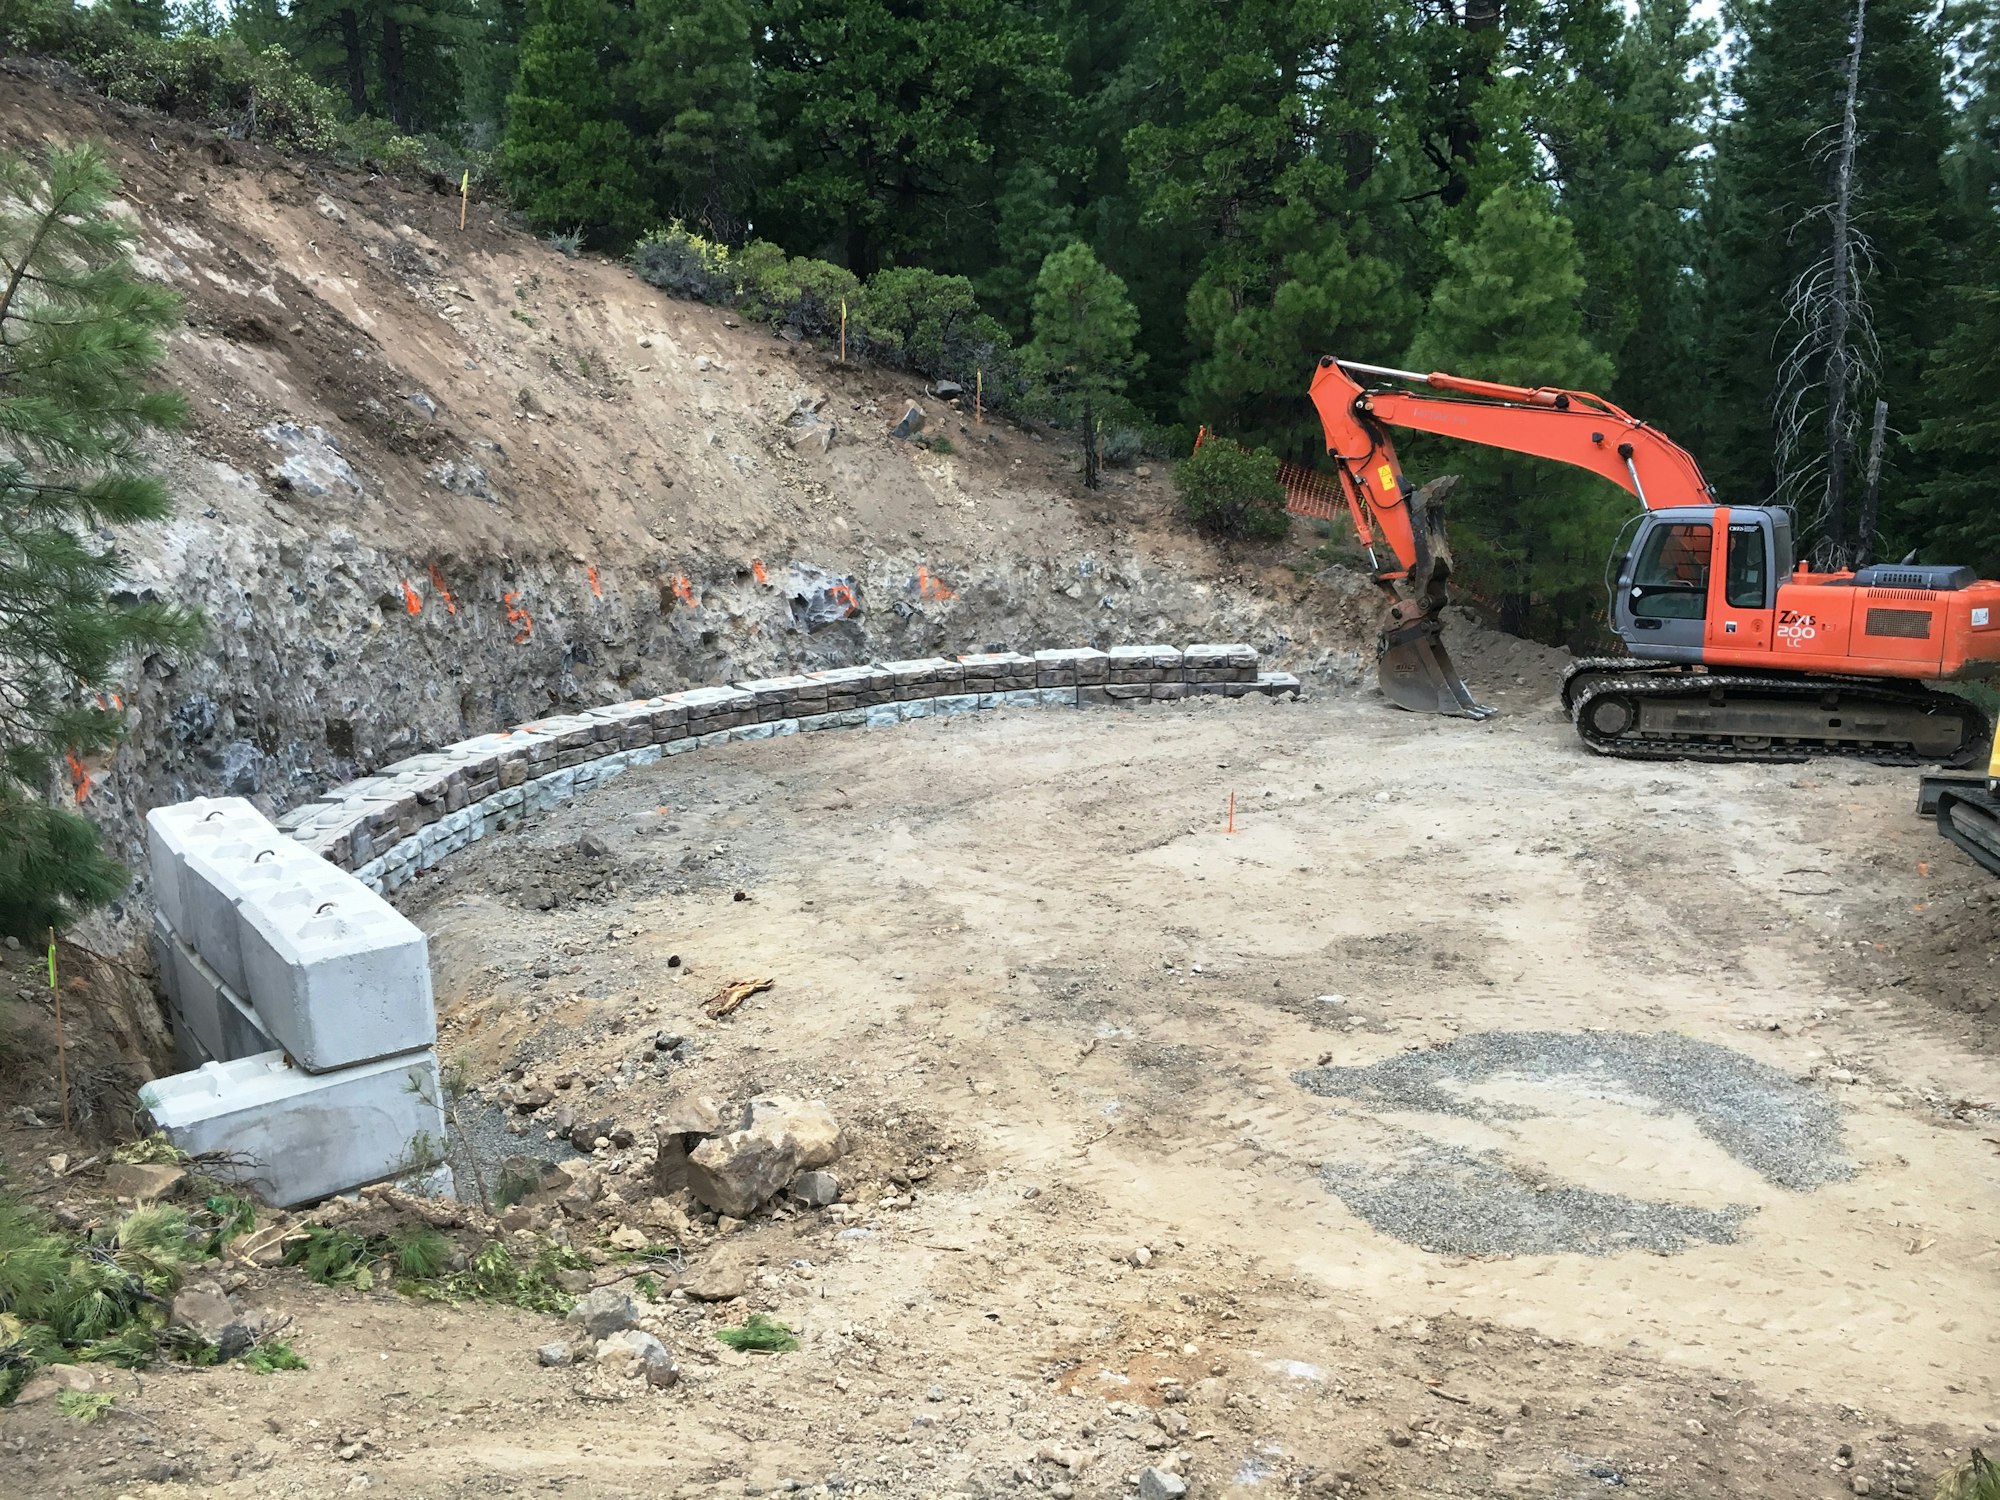
5/14 Pre-cast block retaining wall taking shape

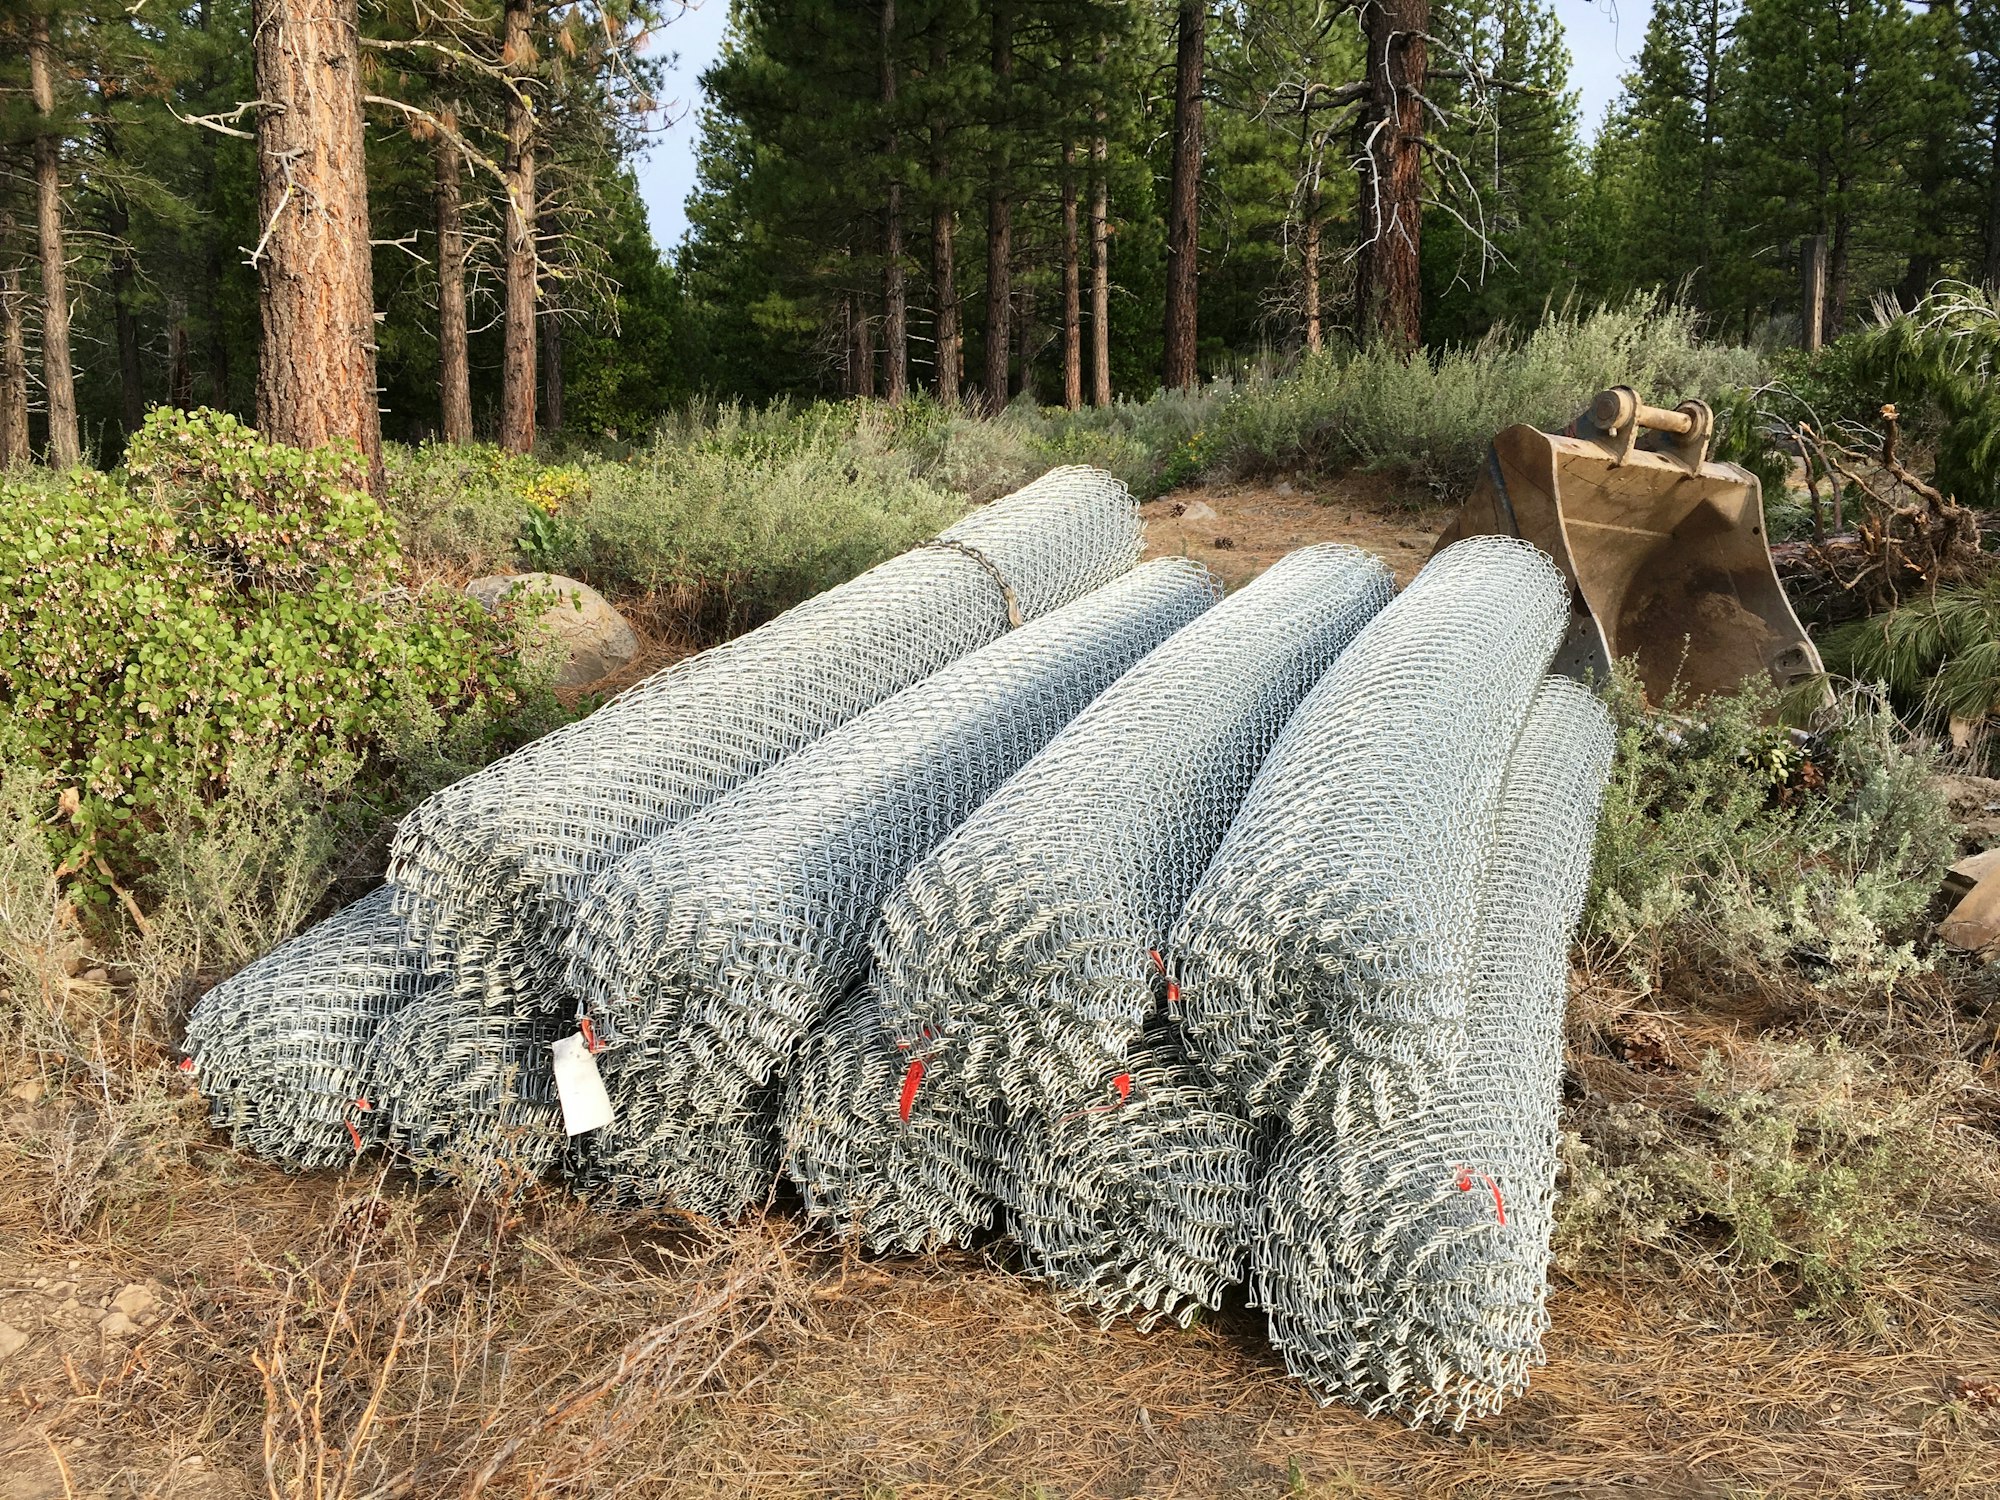
5/14 This fencing will assist in erosion control

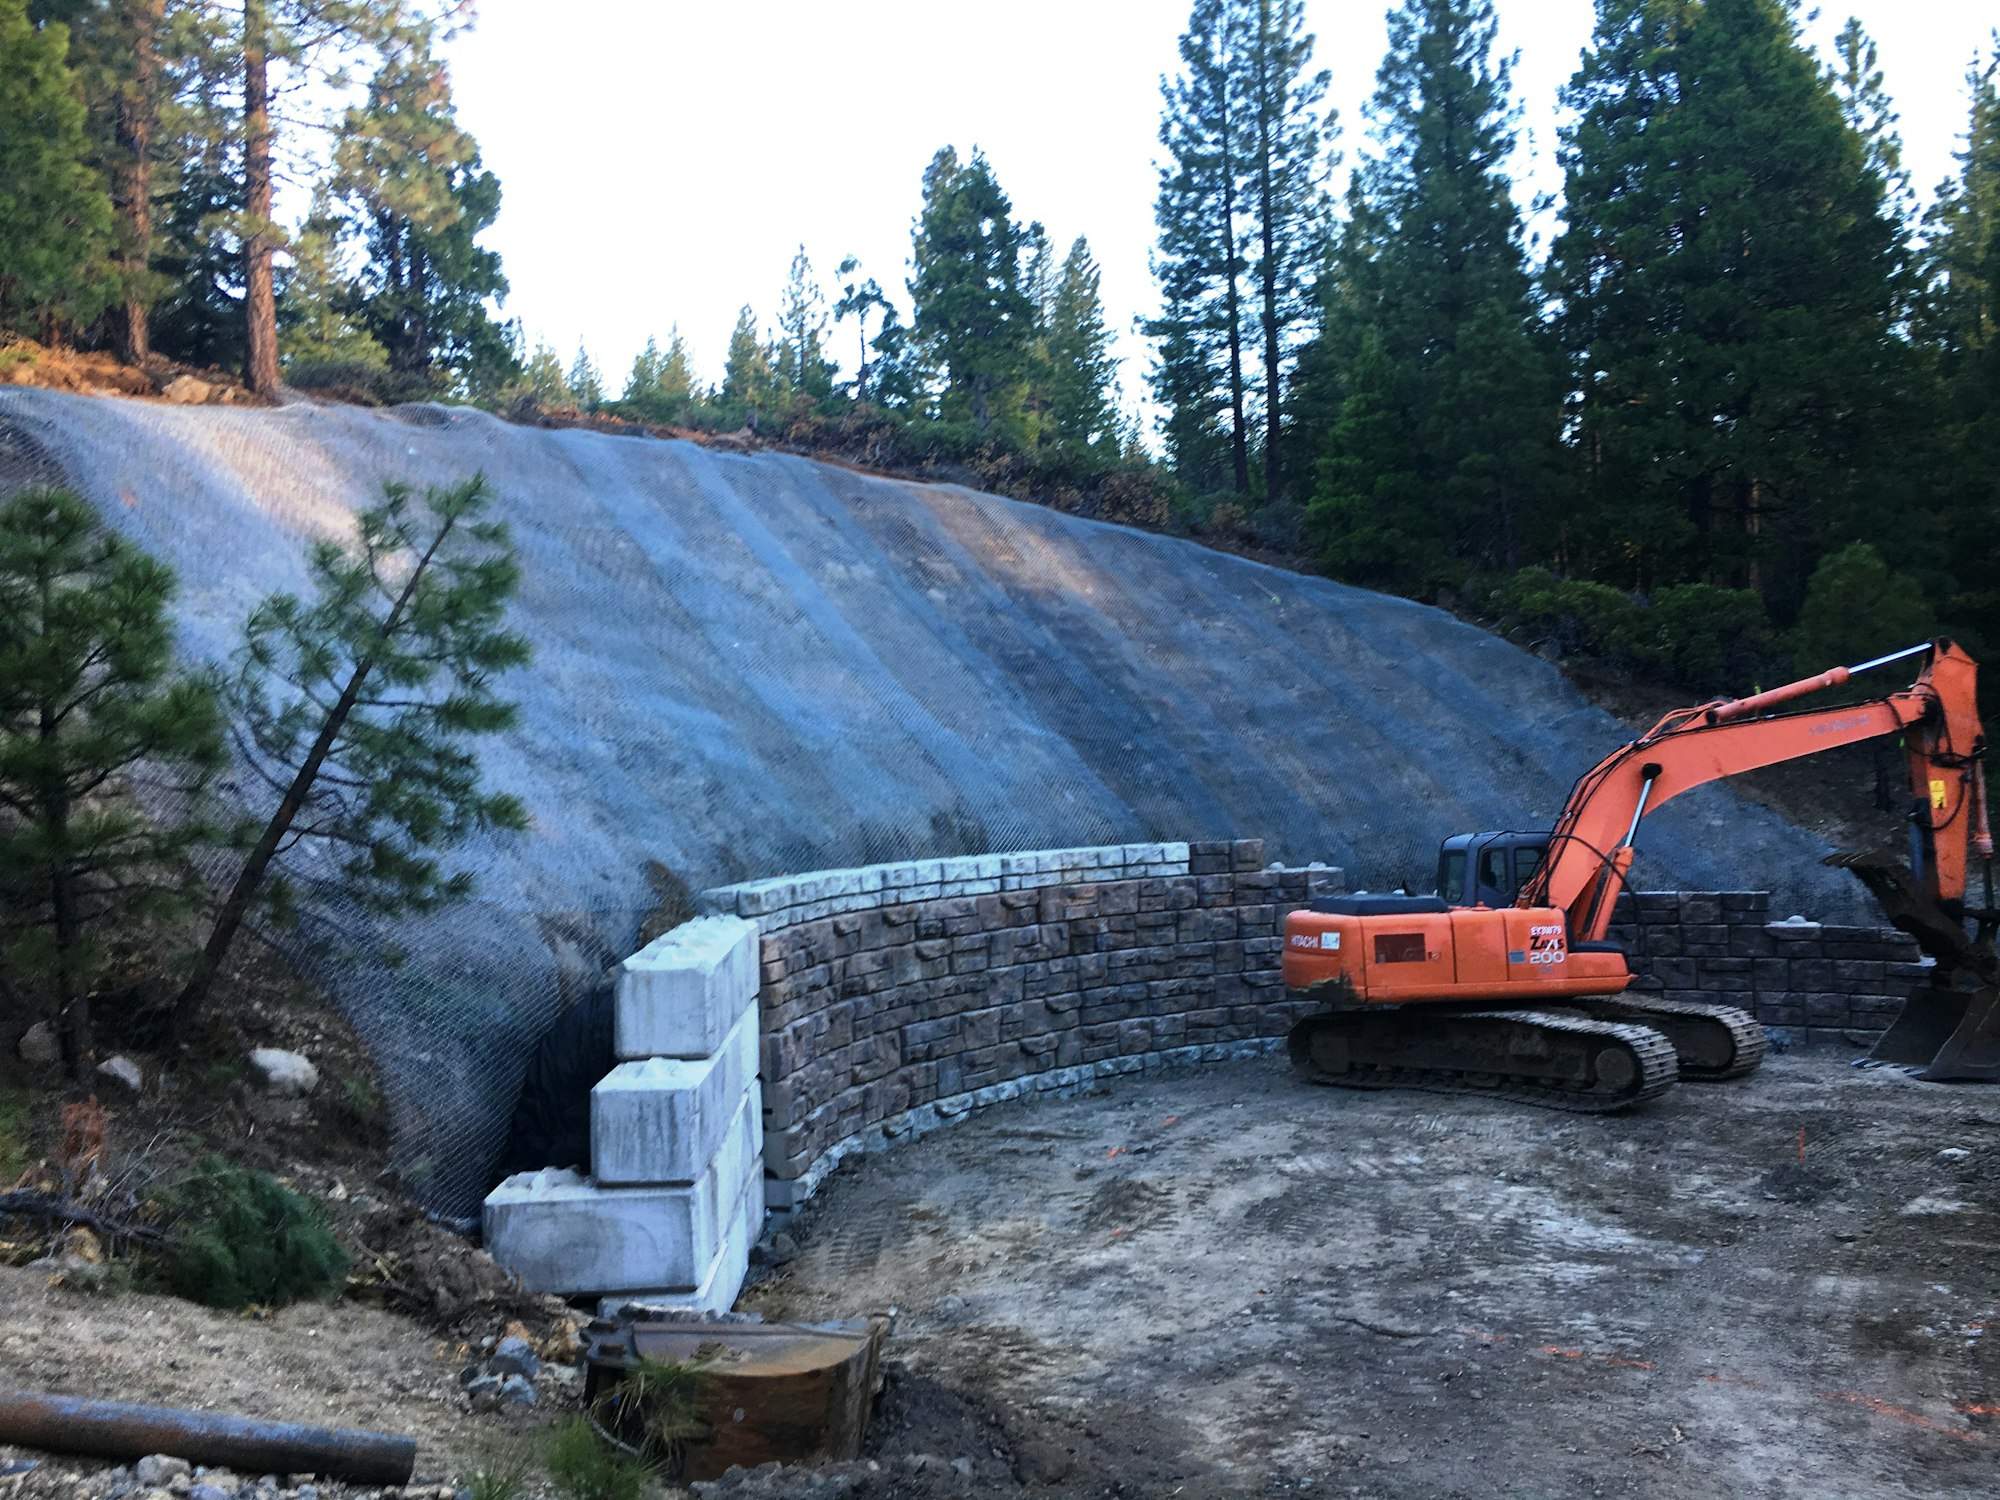
5/15 Blocks that allow for a curved orientation were required.

5/15 Getting there...

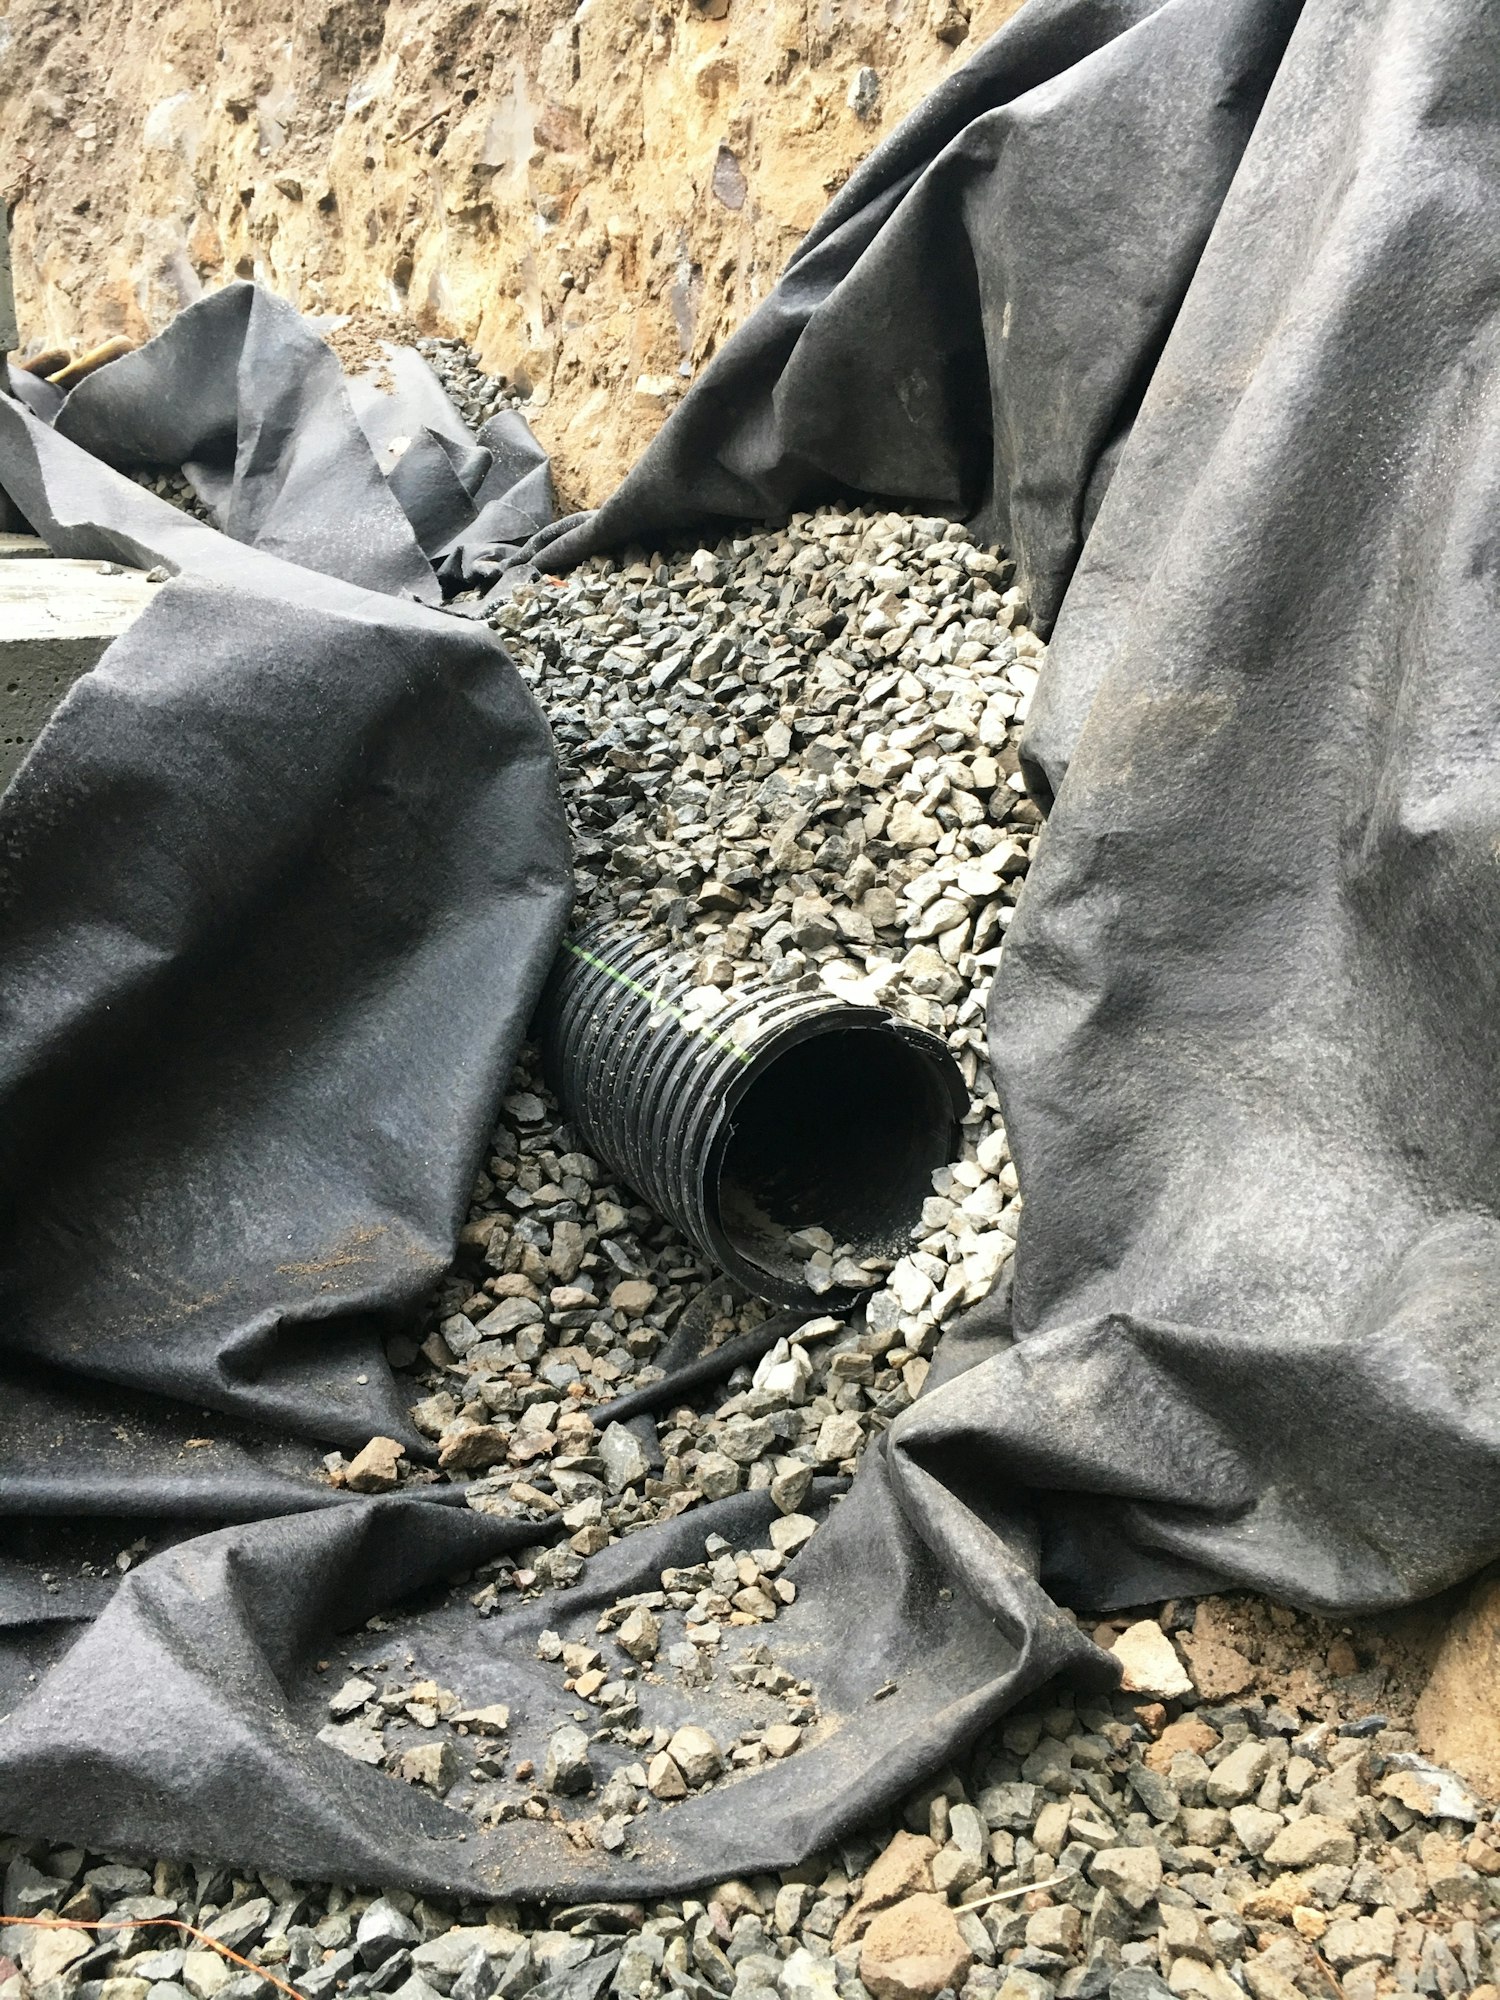
5/17 Drain pipe and rock run behind the retaining blocks

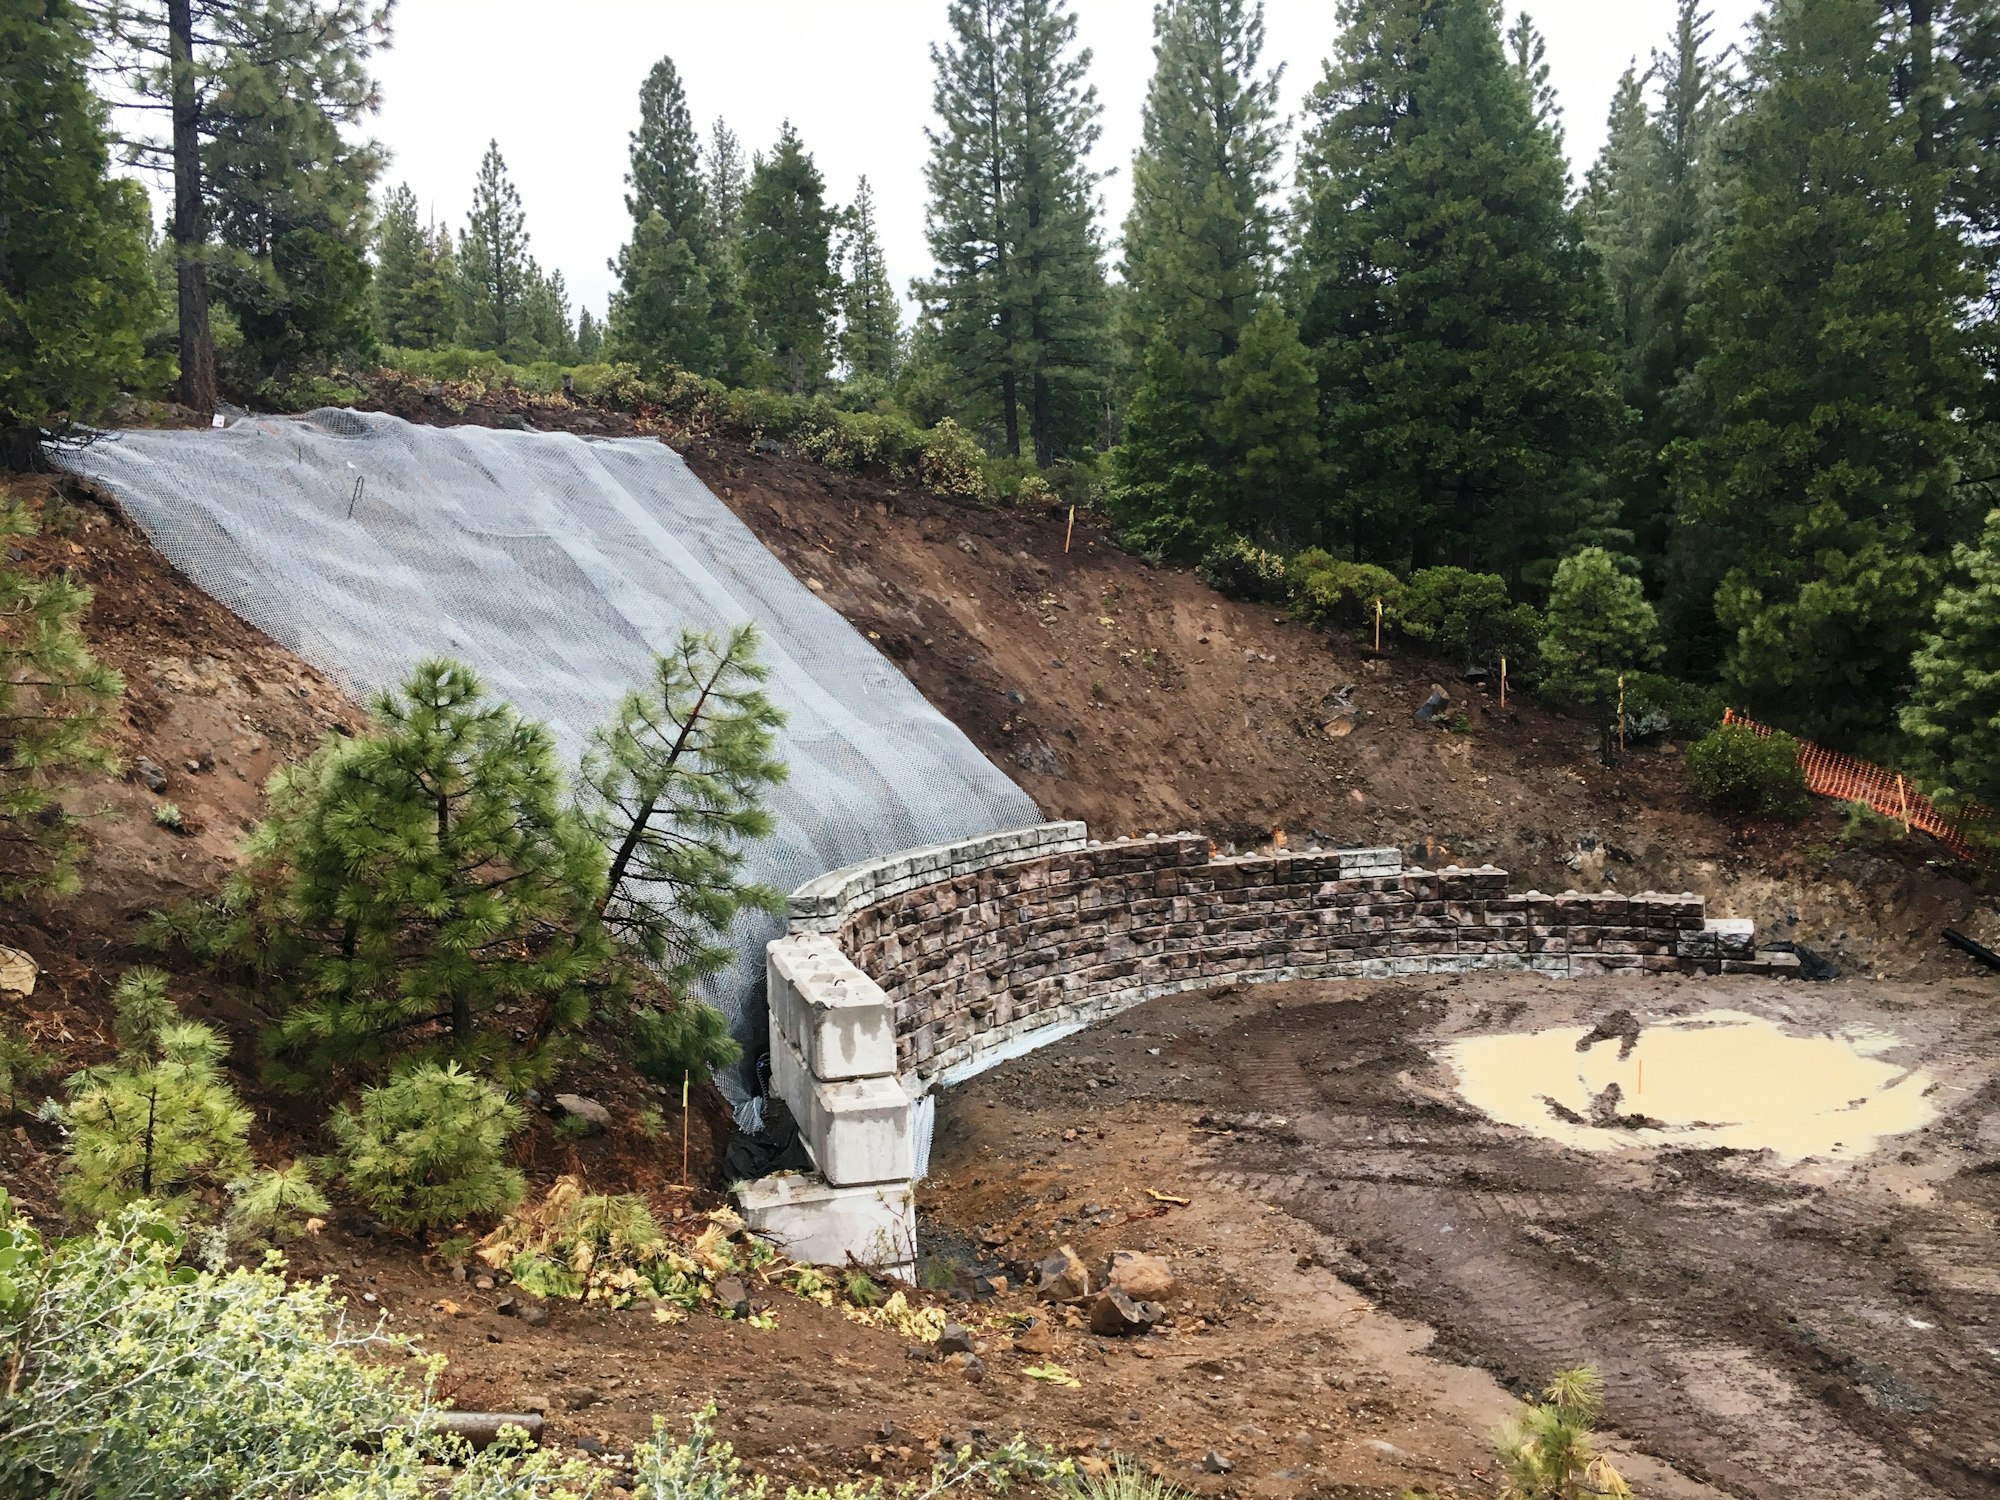
5/22 Chain-link fencing serves as erosion control on upper slope

5/22 Block wall complete with fencing nearly finished. Wet!

6/5 Erosion screening complete!

6/5 Preparing for new valve box

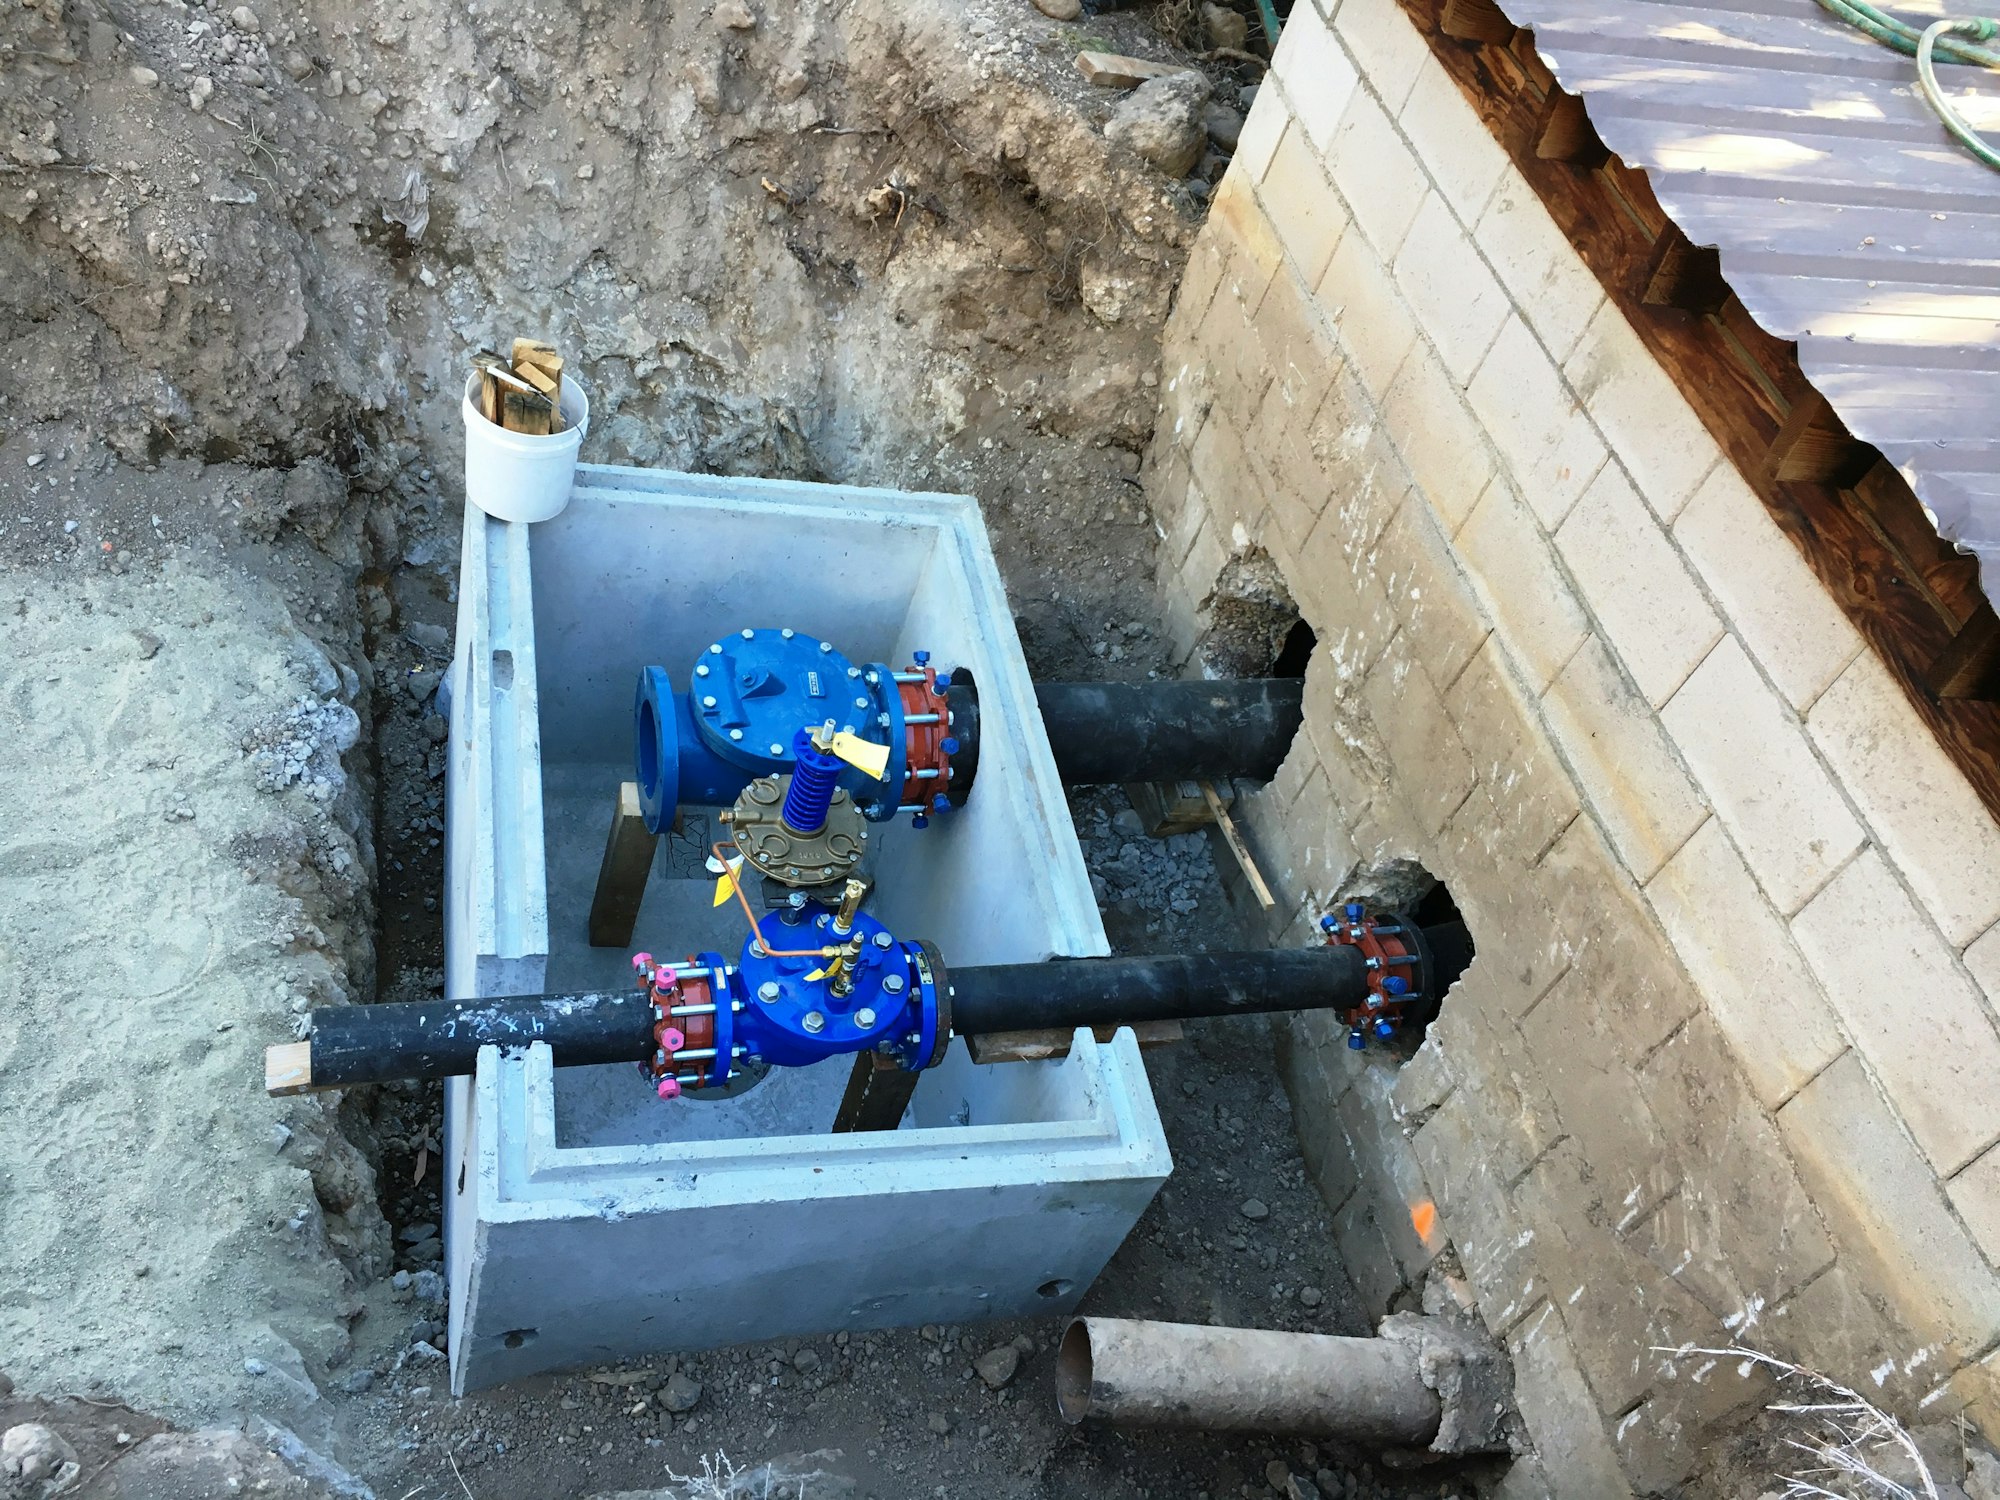
6/8 New valves installed

6/11 More plumbing

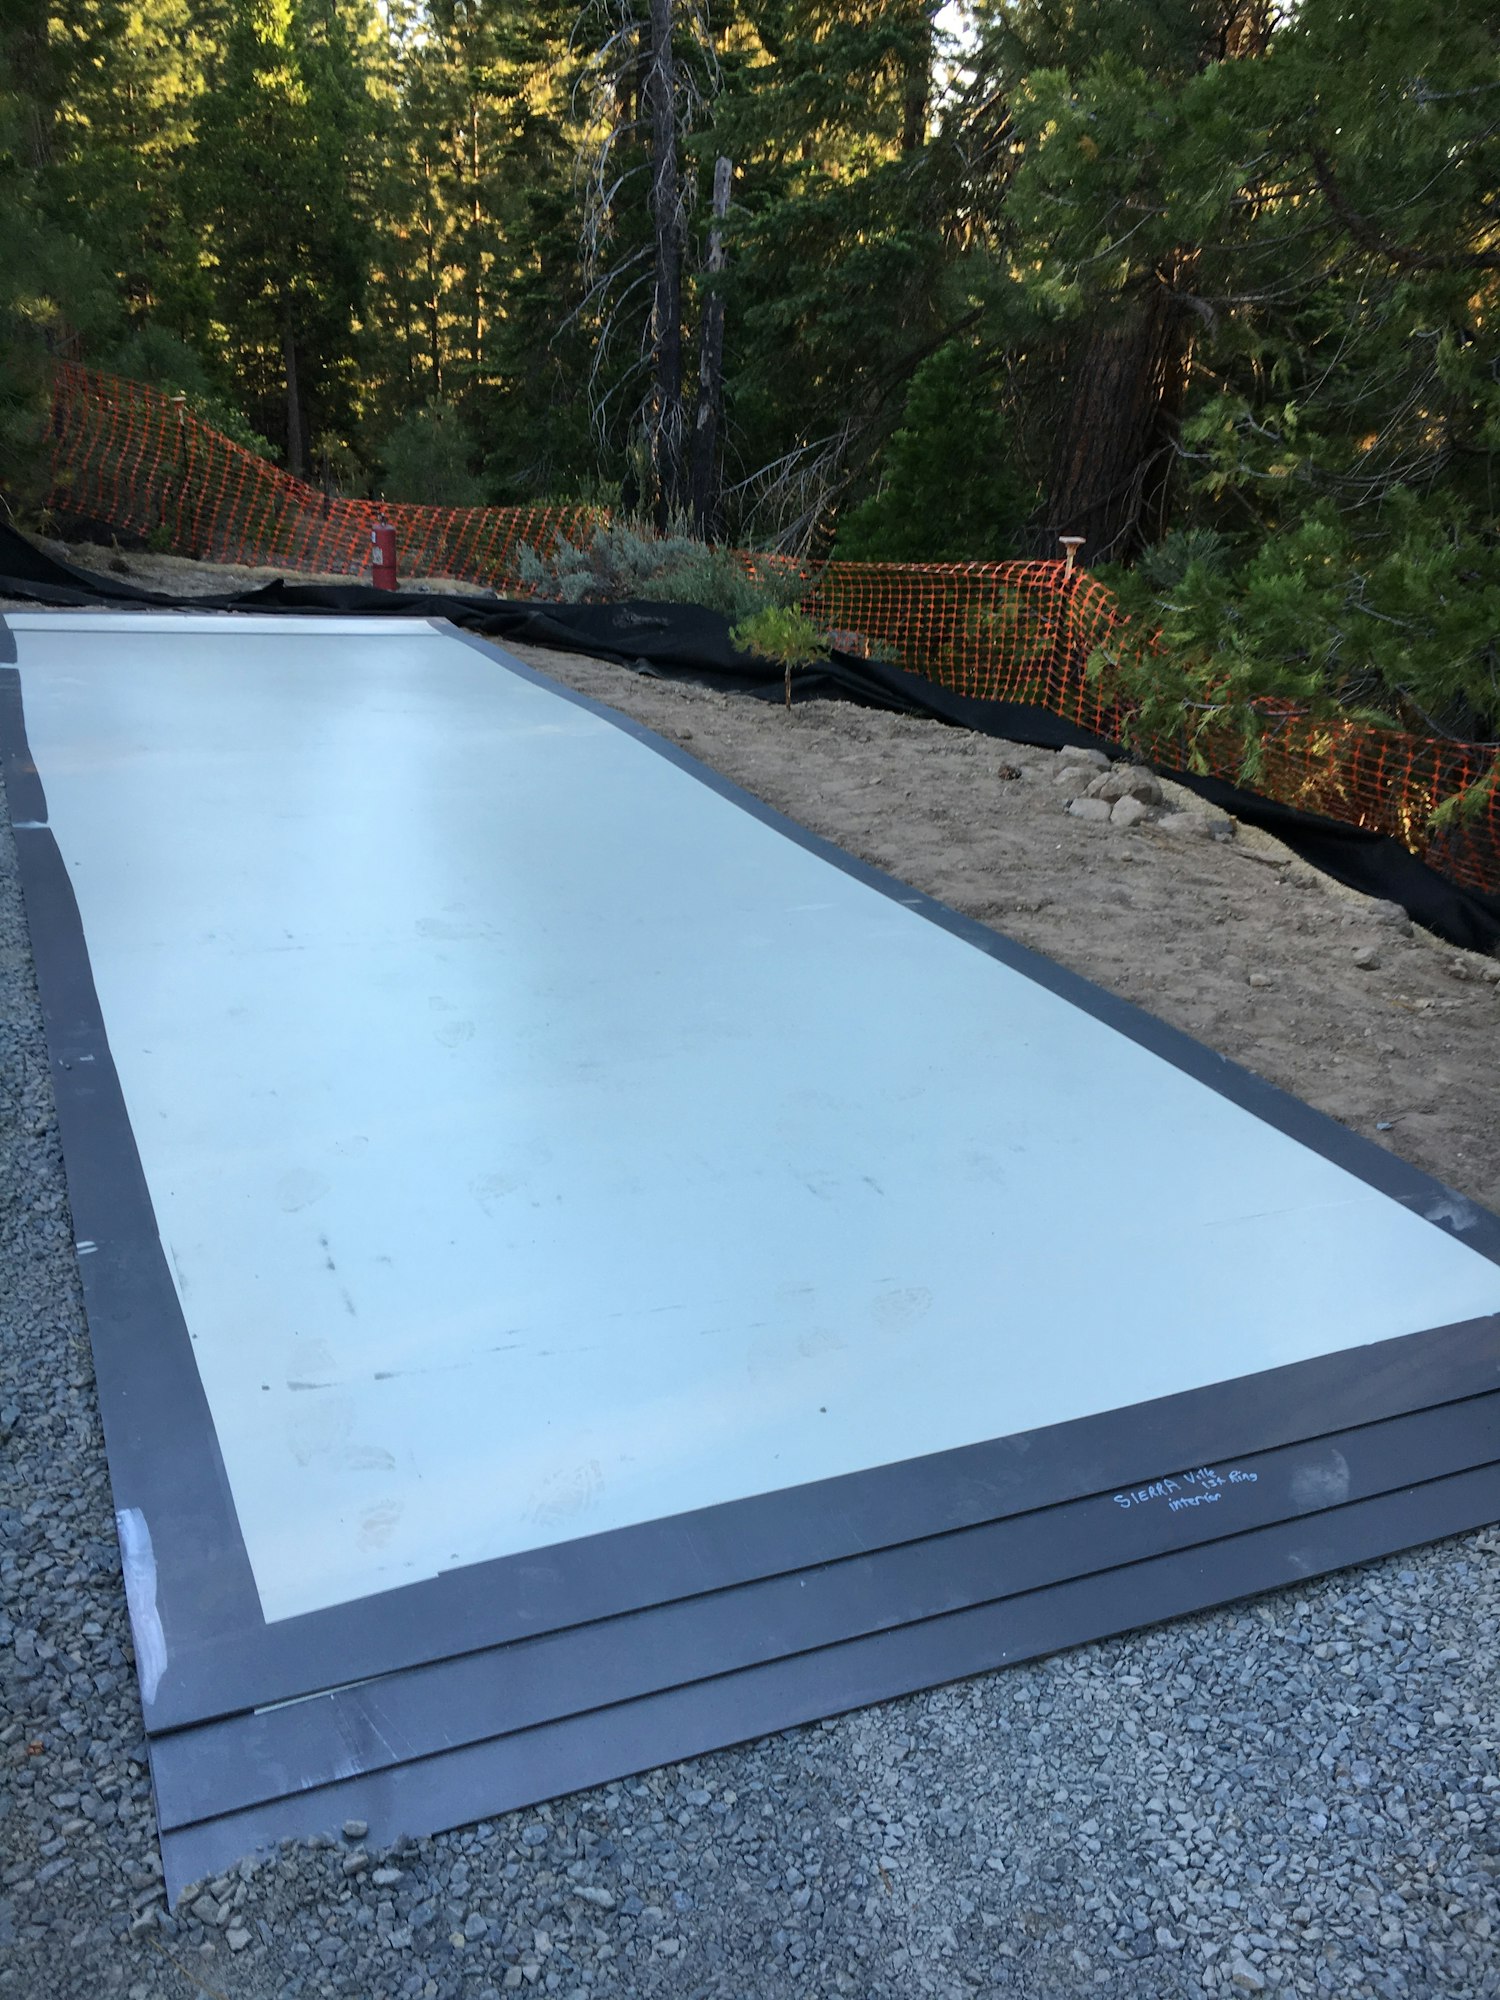
6/21 Pre-coated panels for tank walls have arrived!

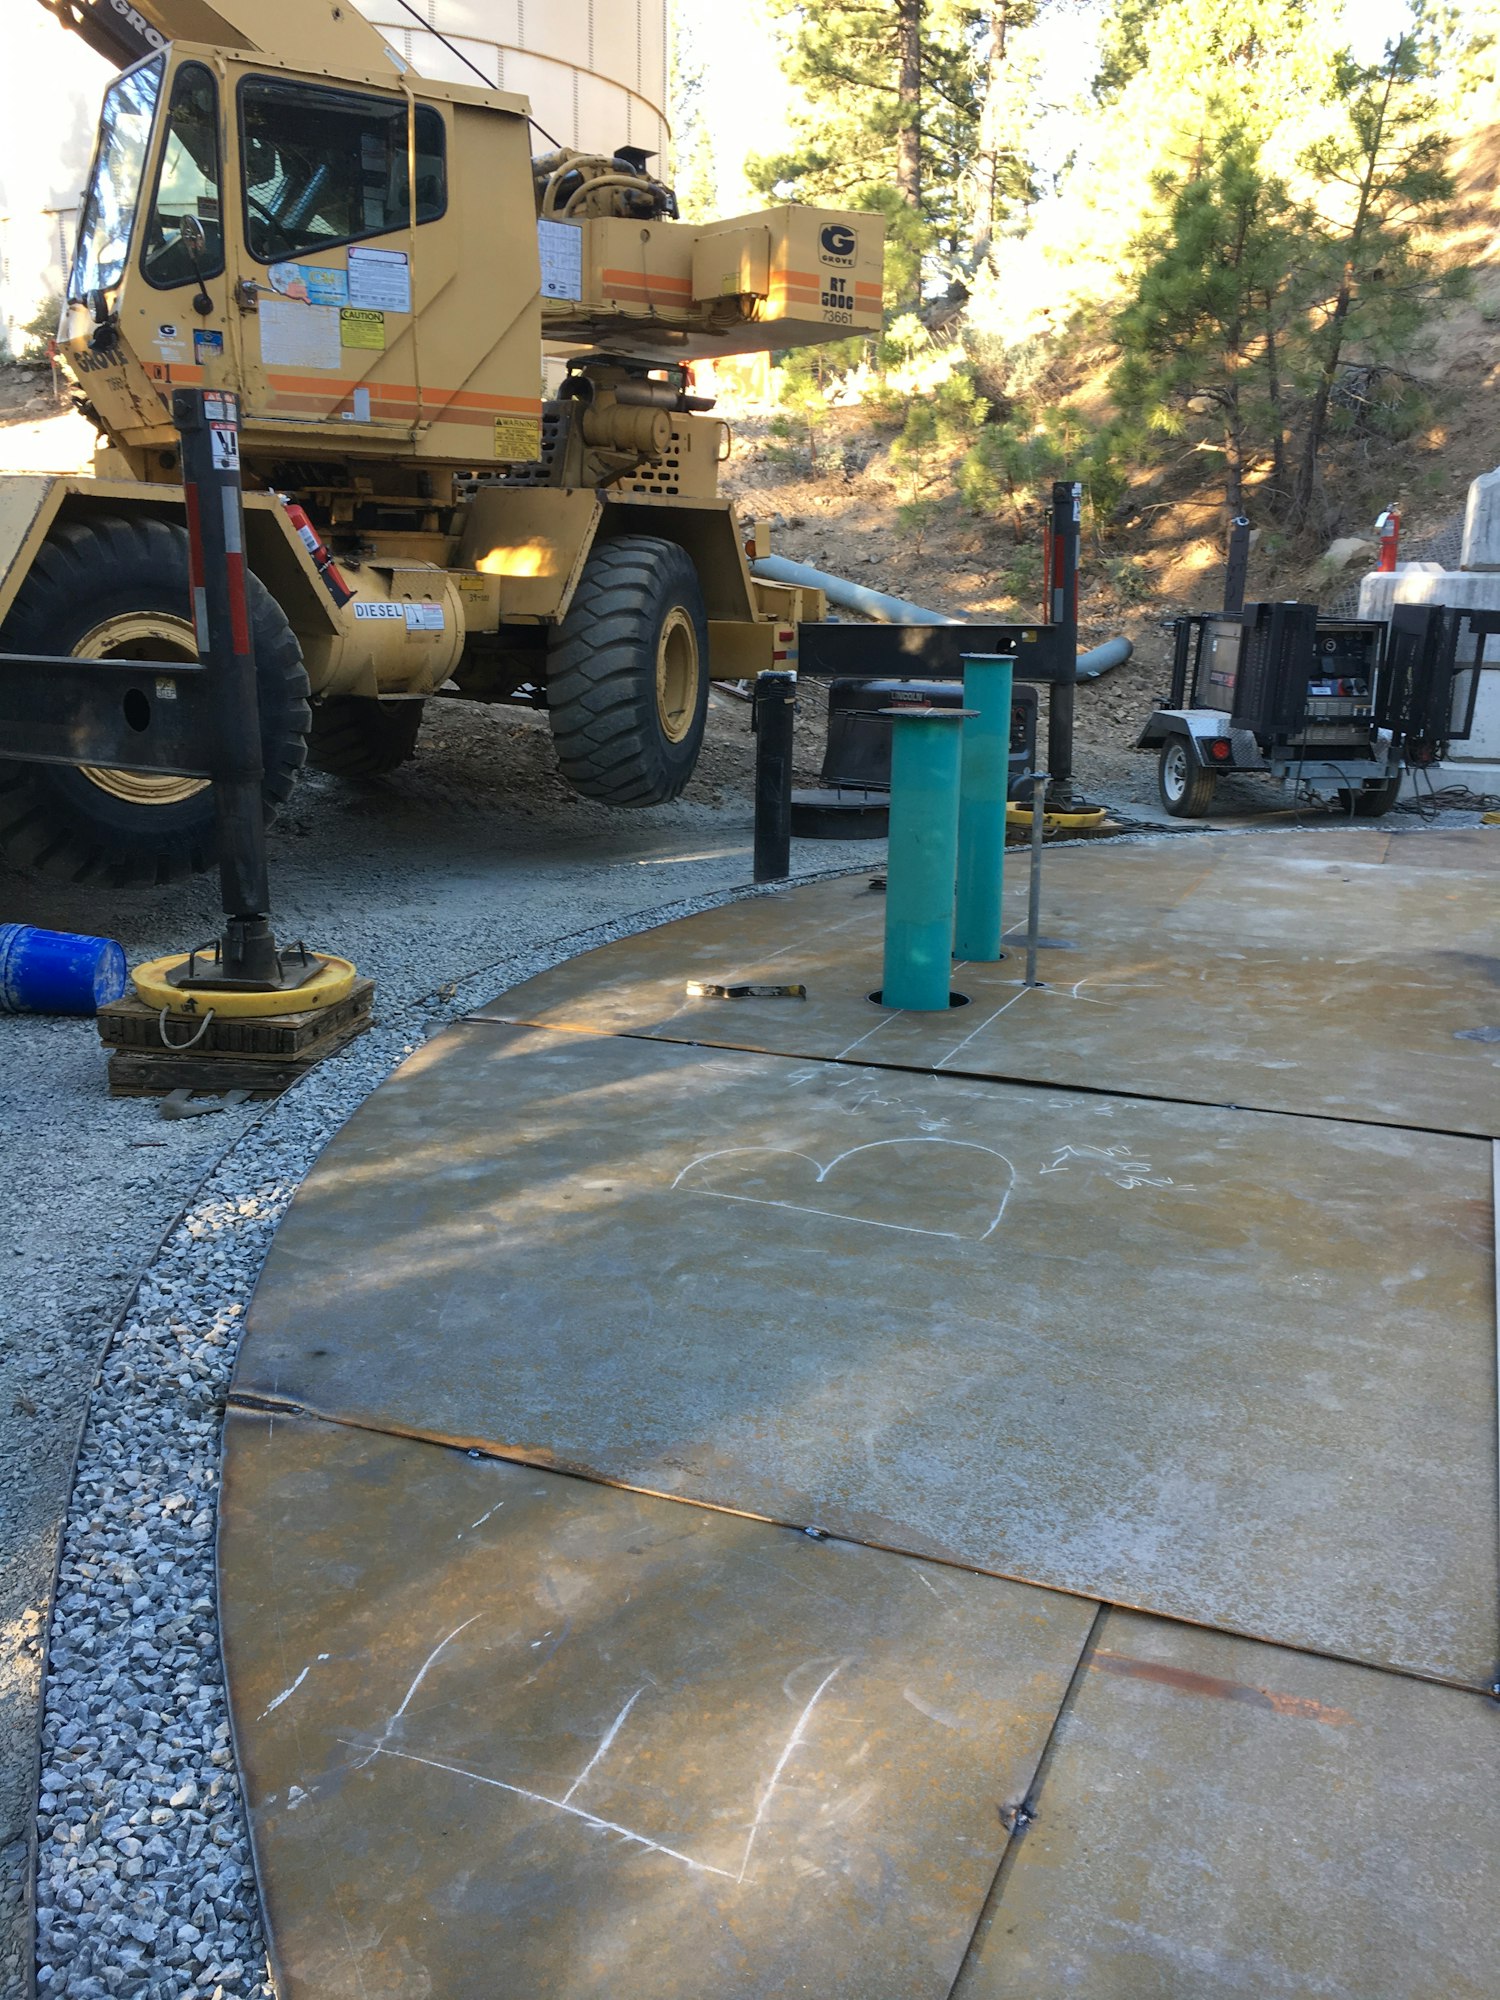
6/21 The tank floor panels have a 2" overlap for strength

6/27 Wall panels are lifted by crane, then bent with a come-along to create the proper shape, and tack welded in place

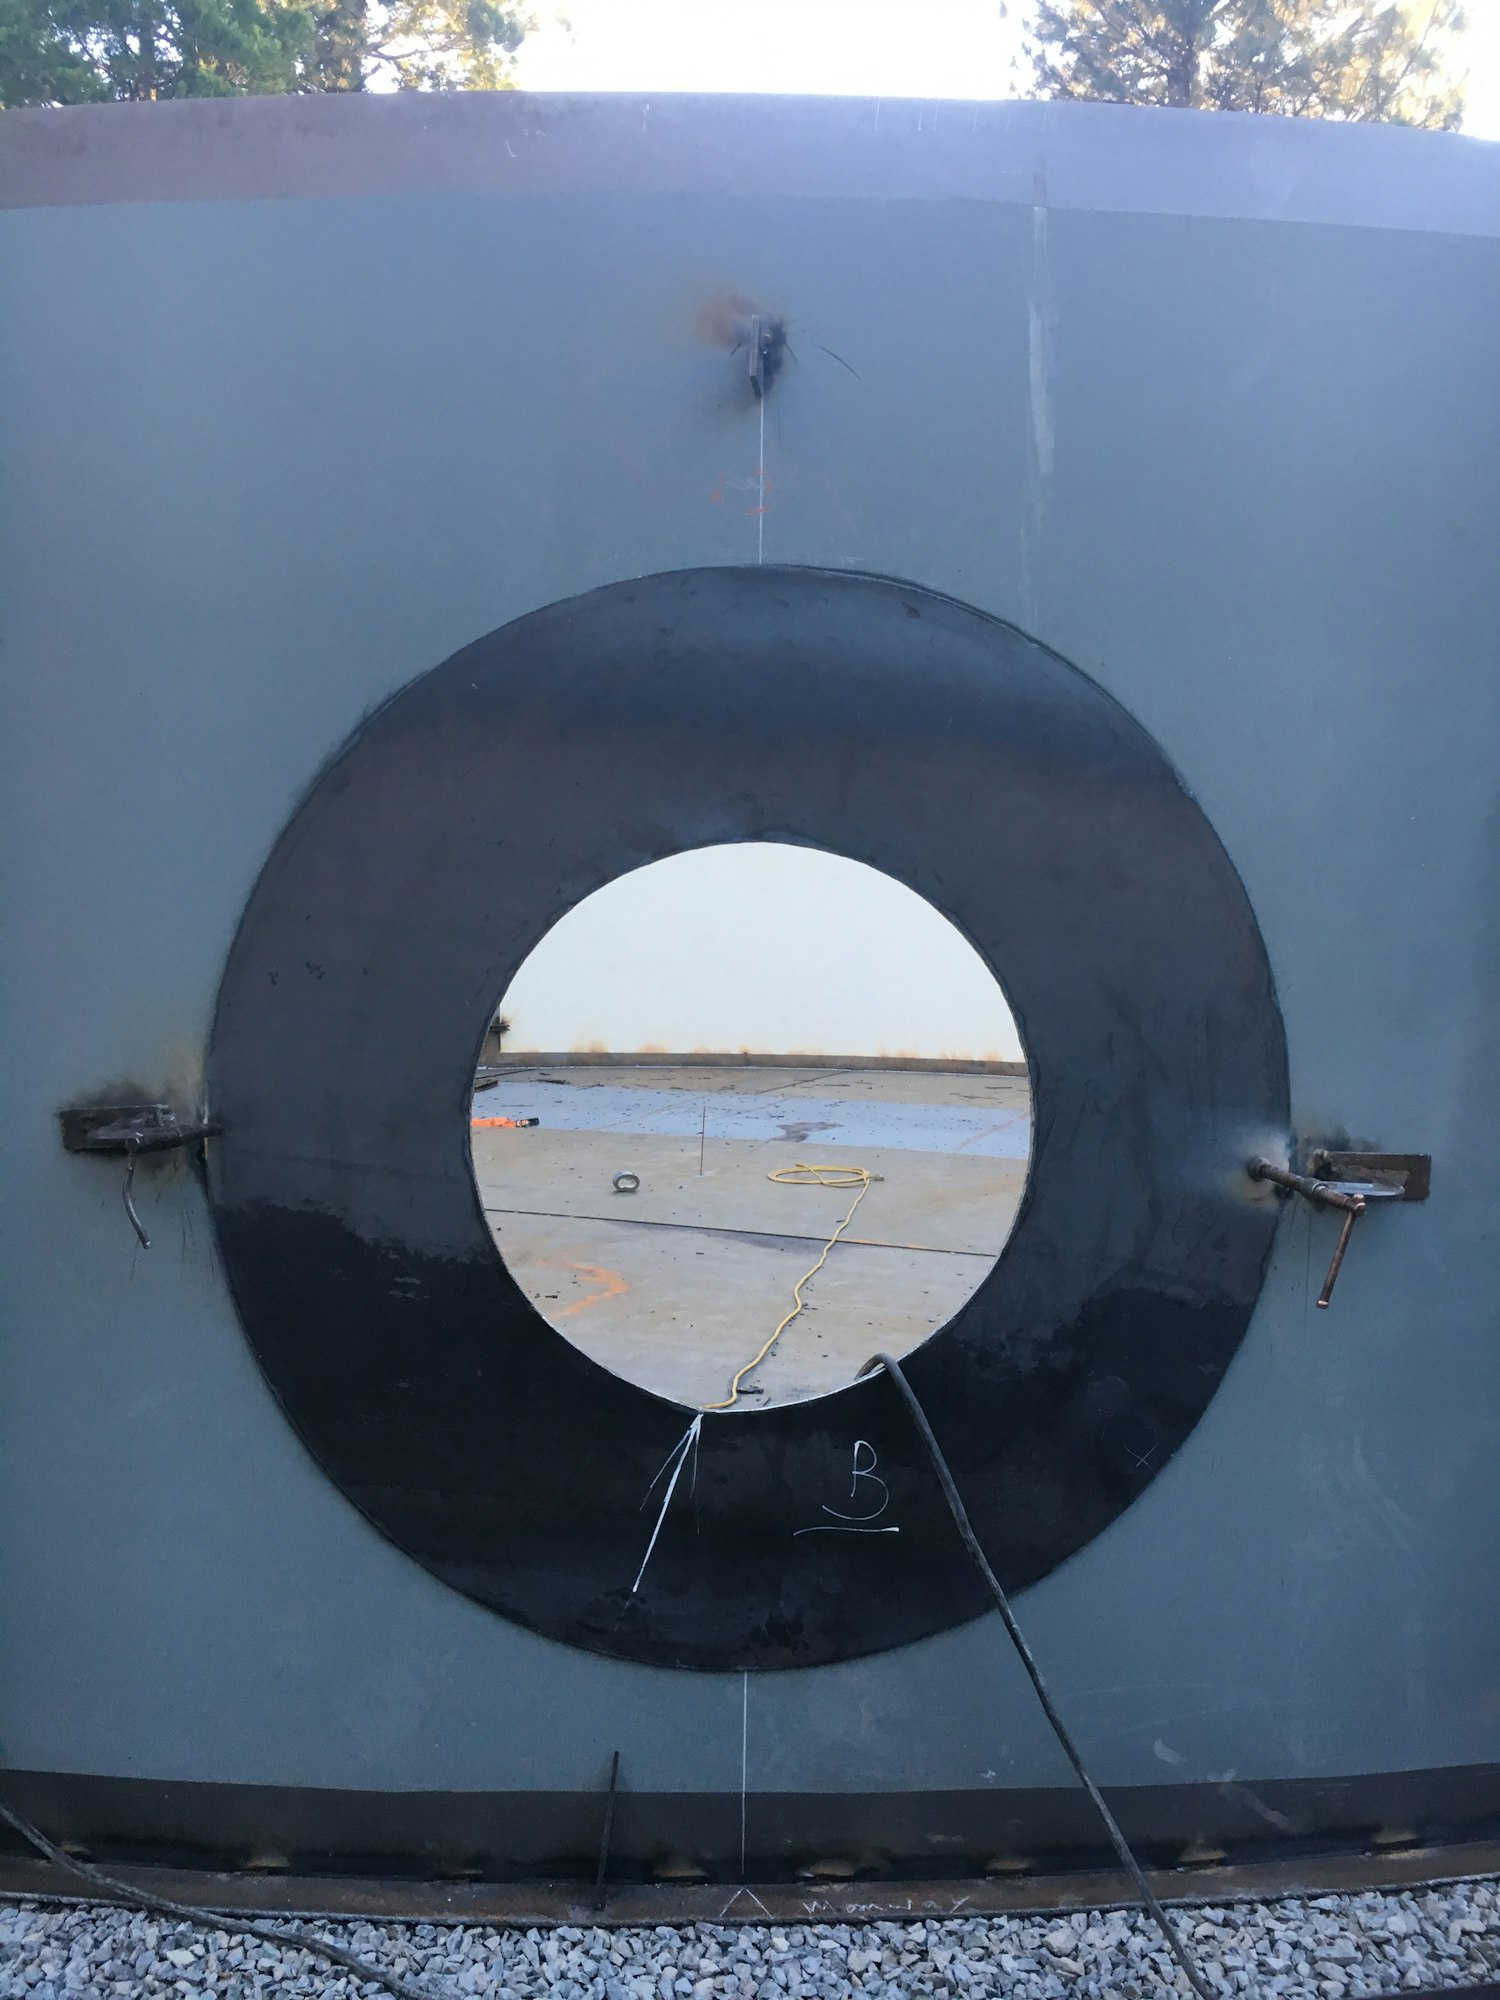
6/27 An access door is required for future maintenance

6/27 Taking shape!

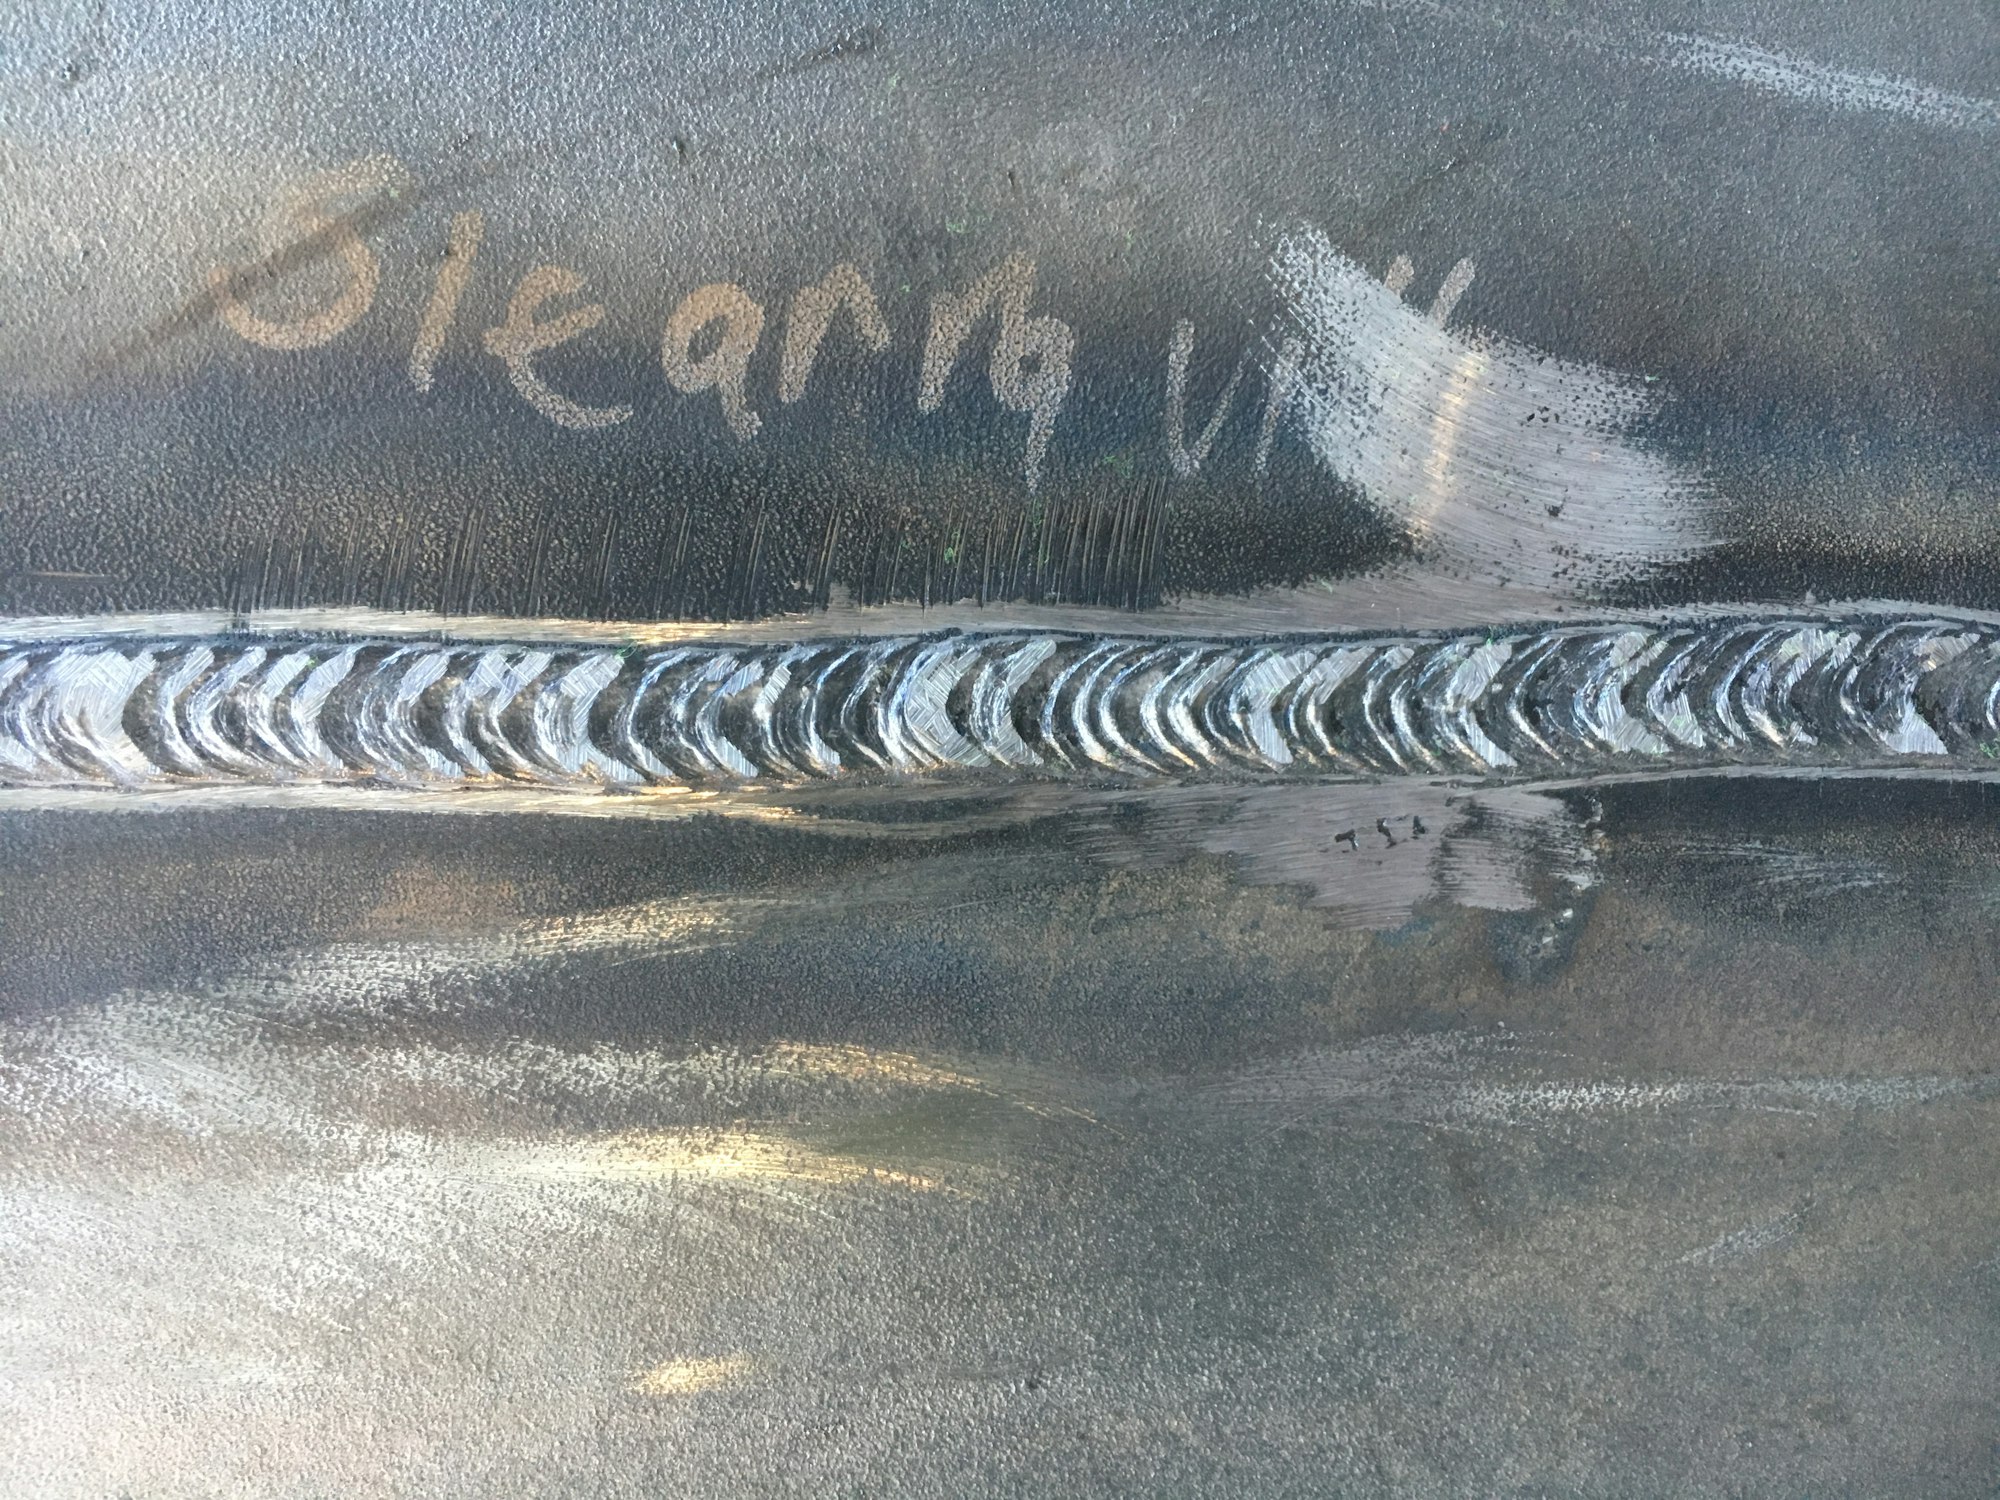
6/27 Excellent welding here! All welds will be inspected using X-ray technology

7/5 Scaffolding rolls along the top of the tank to enable welding exterior

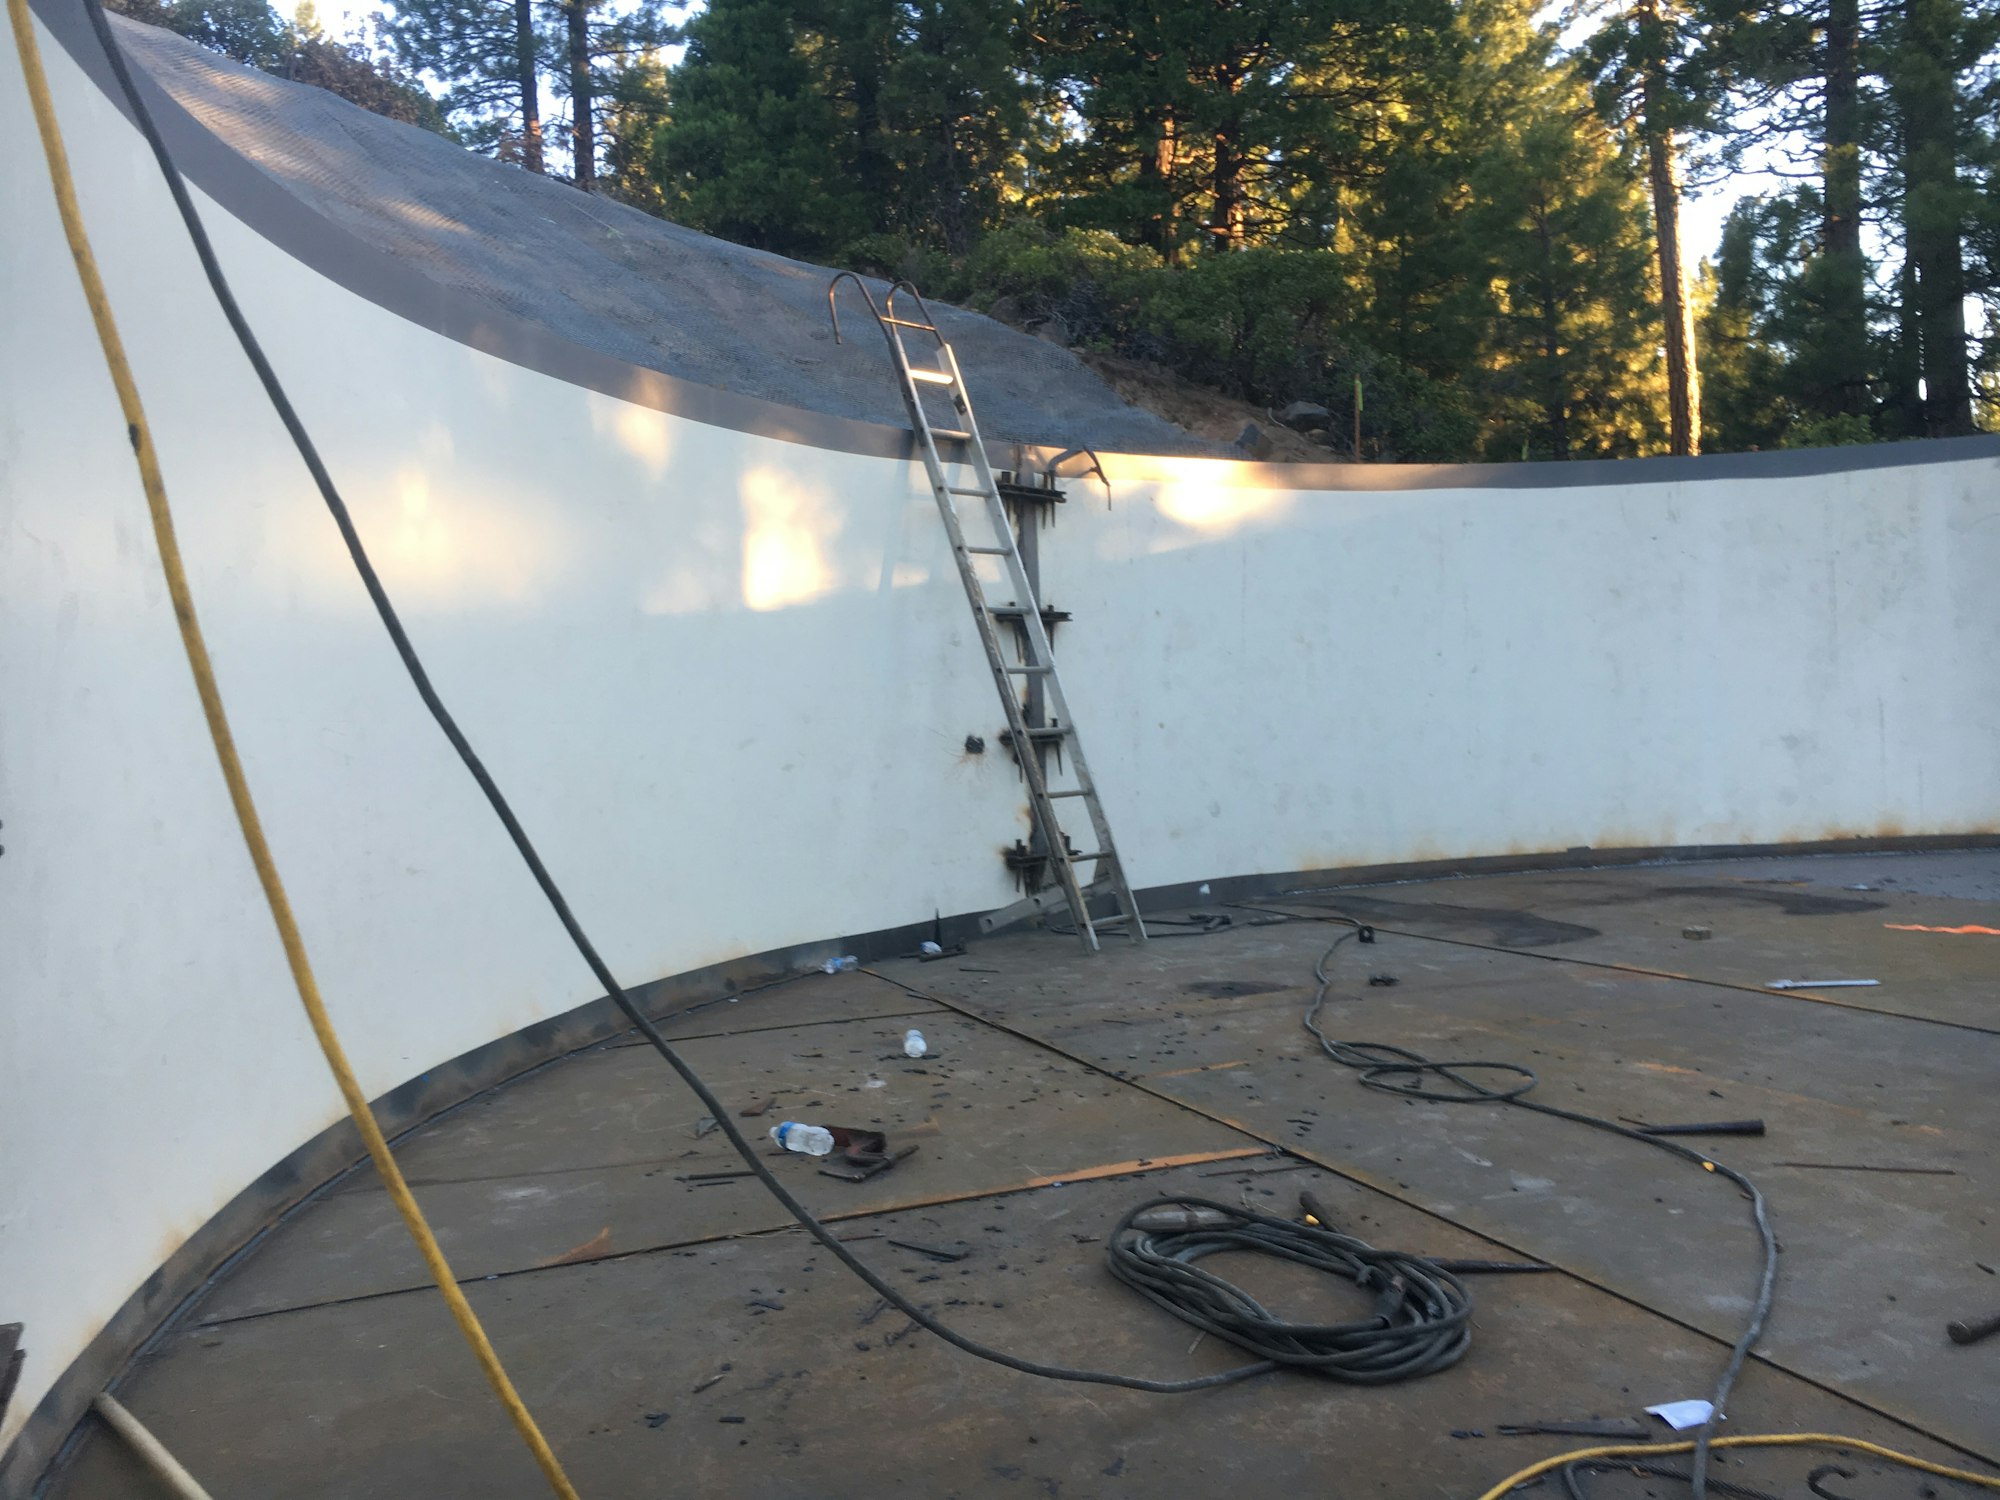
7/5 View inside the tank

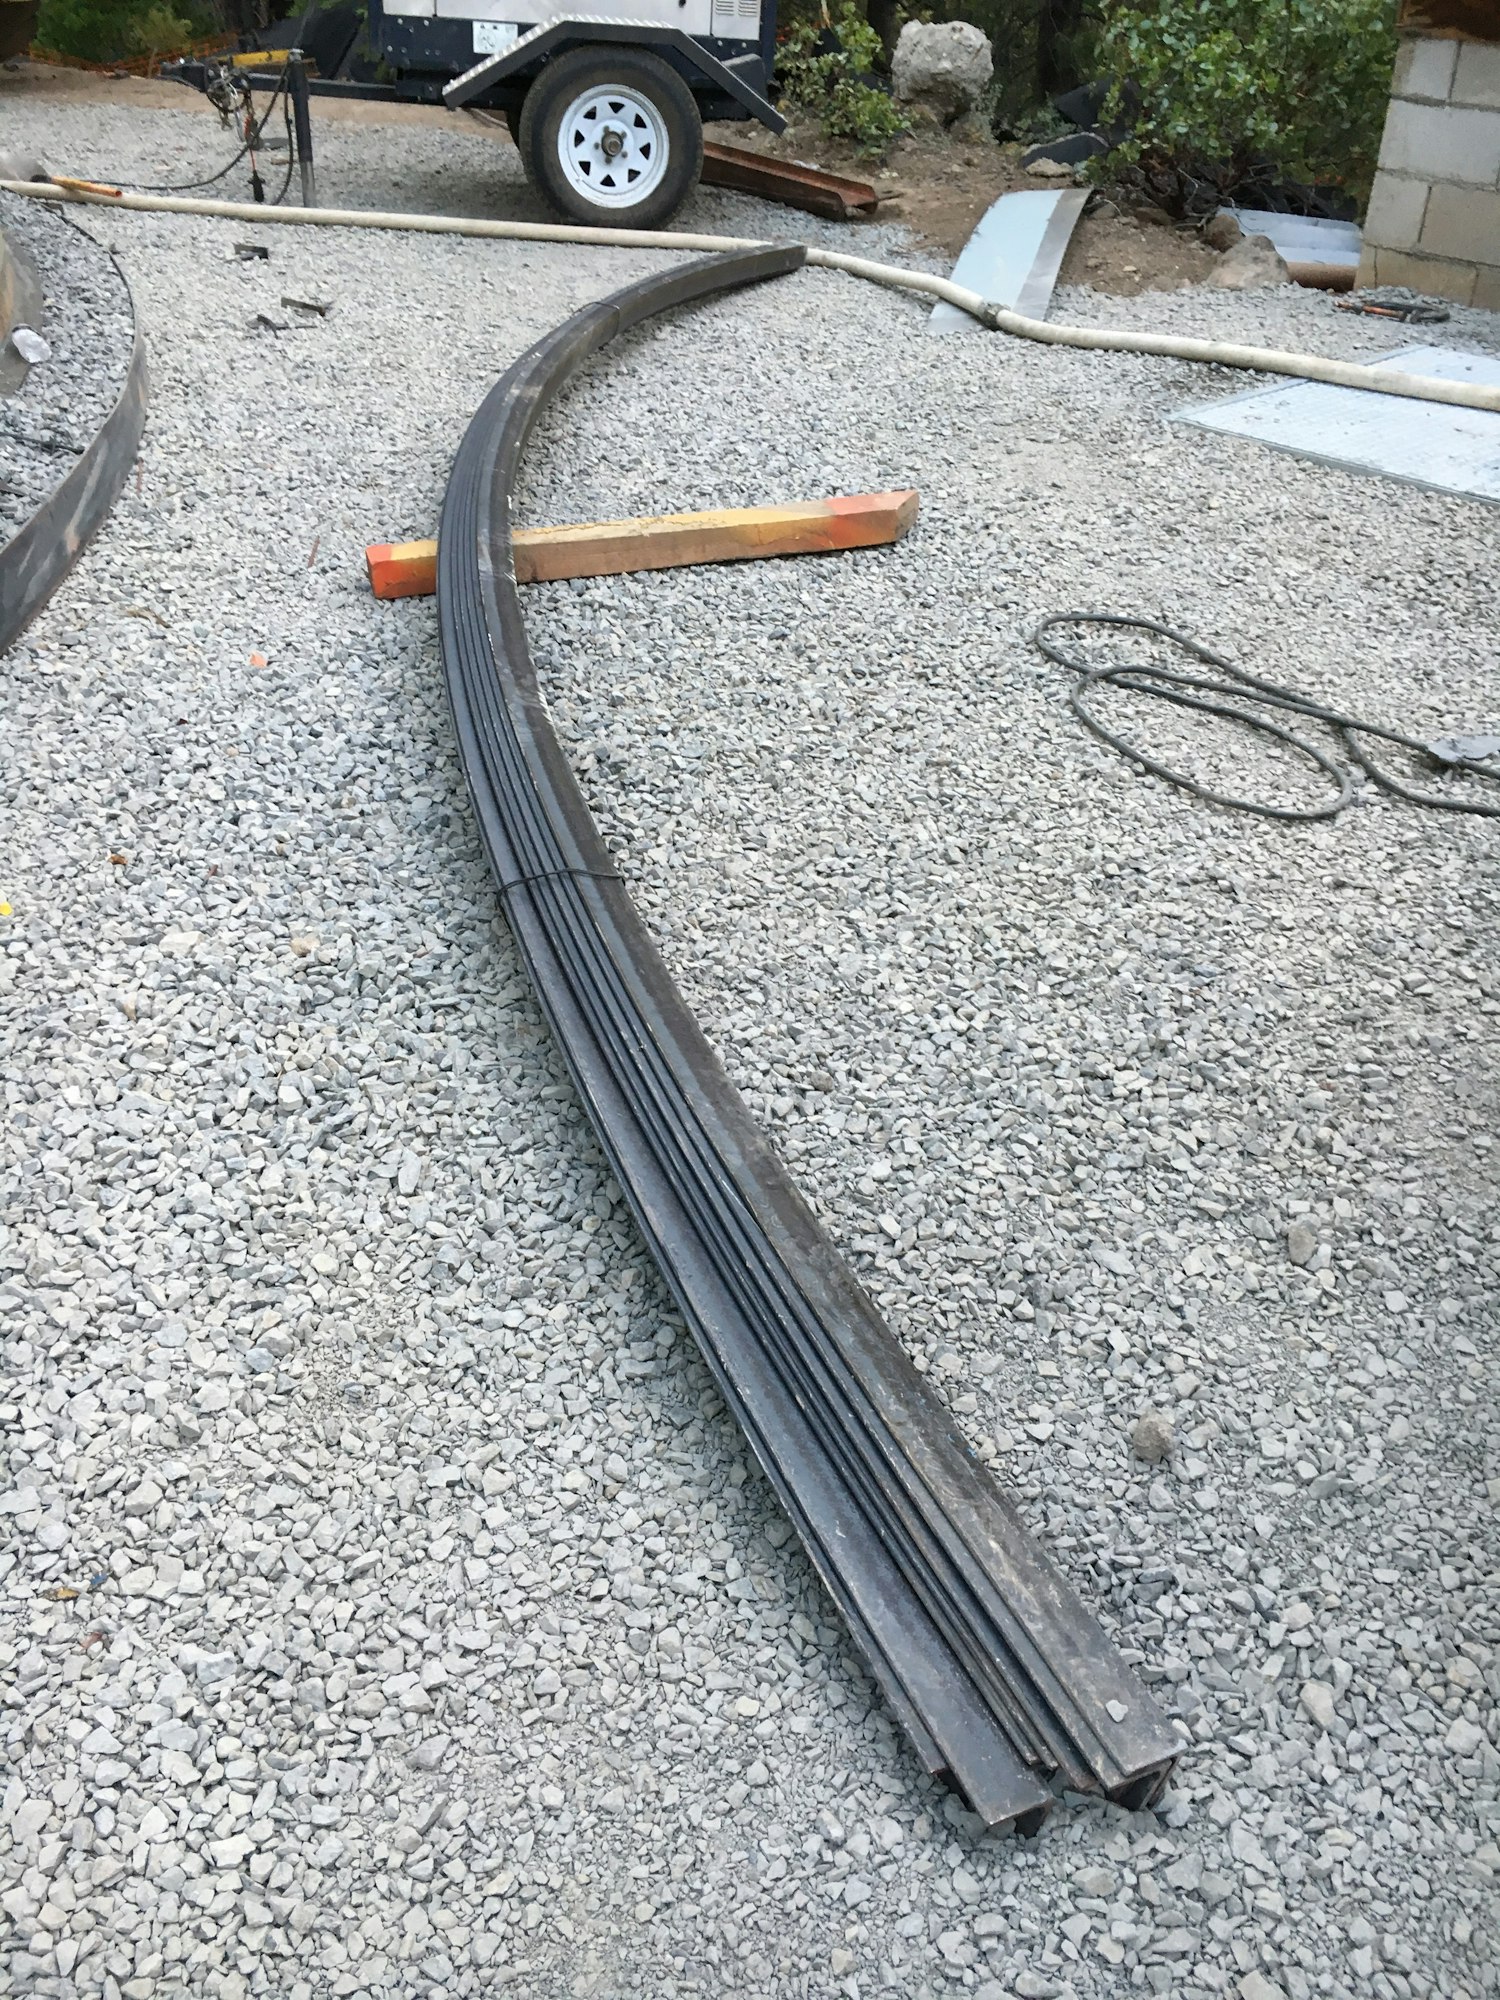
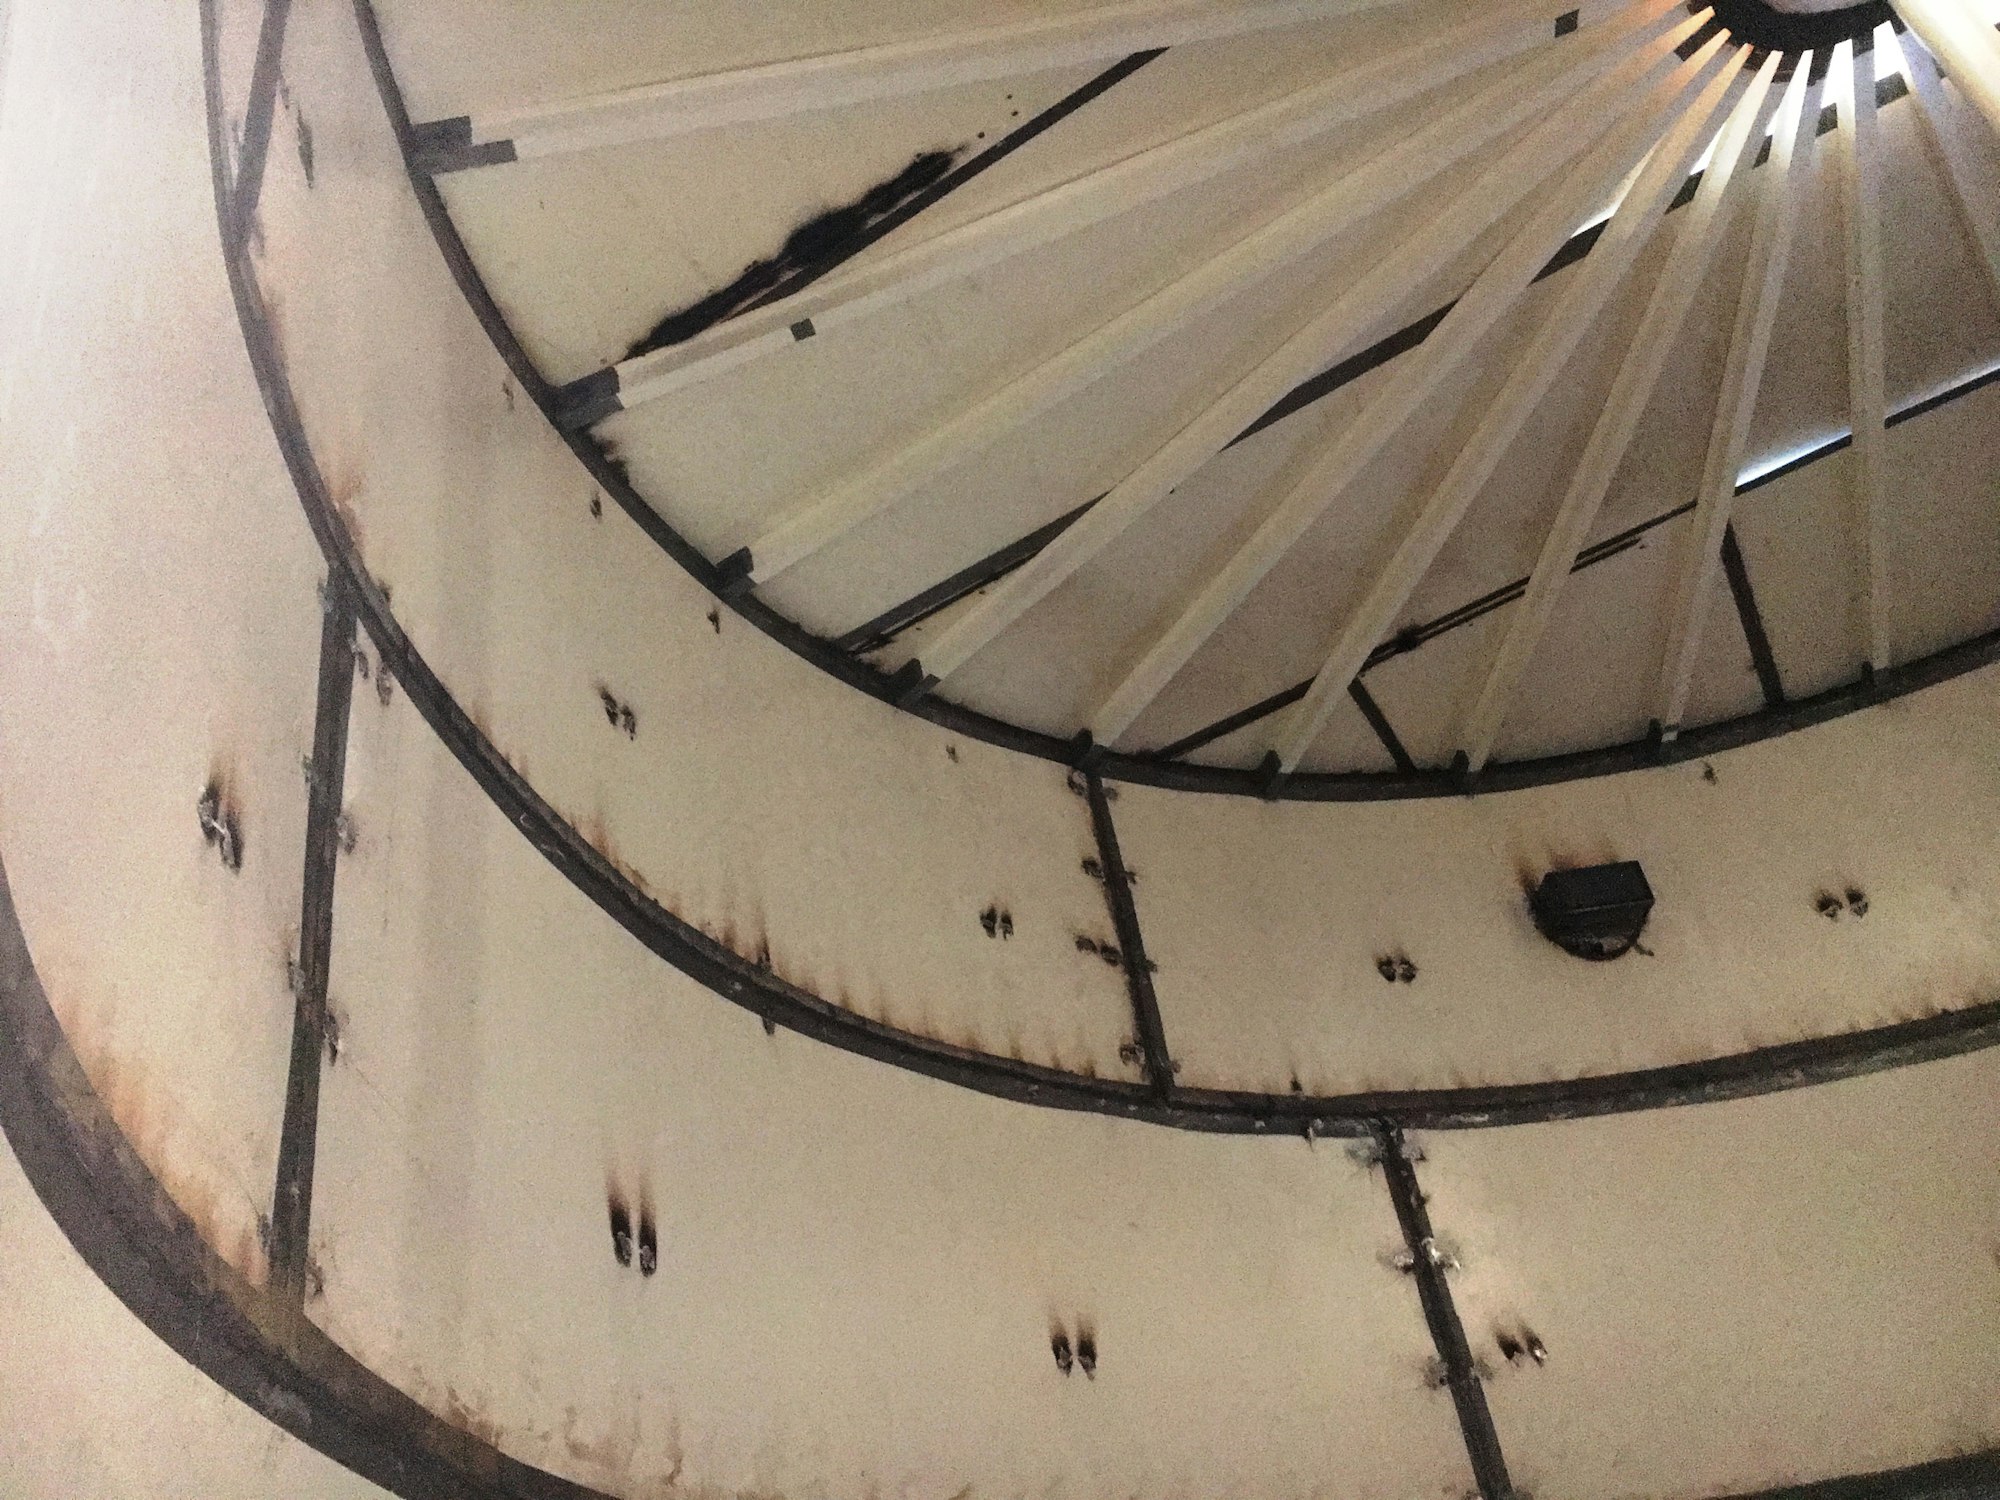
7/5 Pre-formed top rails will support I-beams which support the tank's roof

7/8 The final course of panels installed showing the full height of the tank

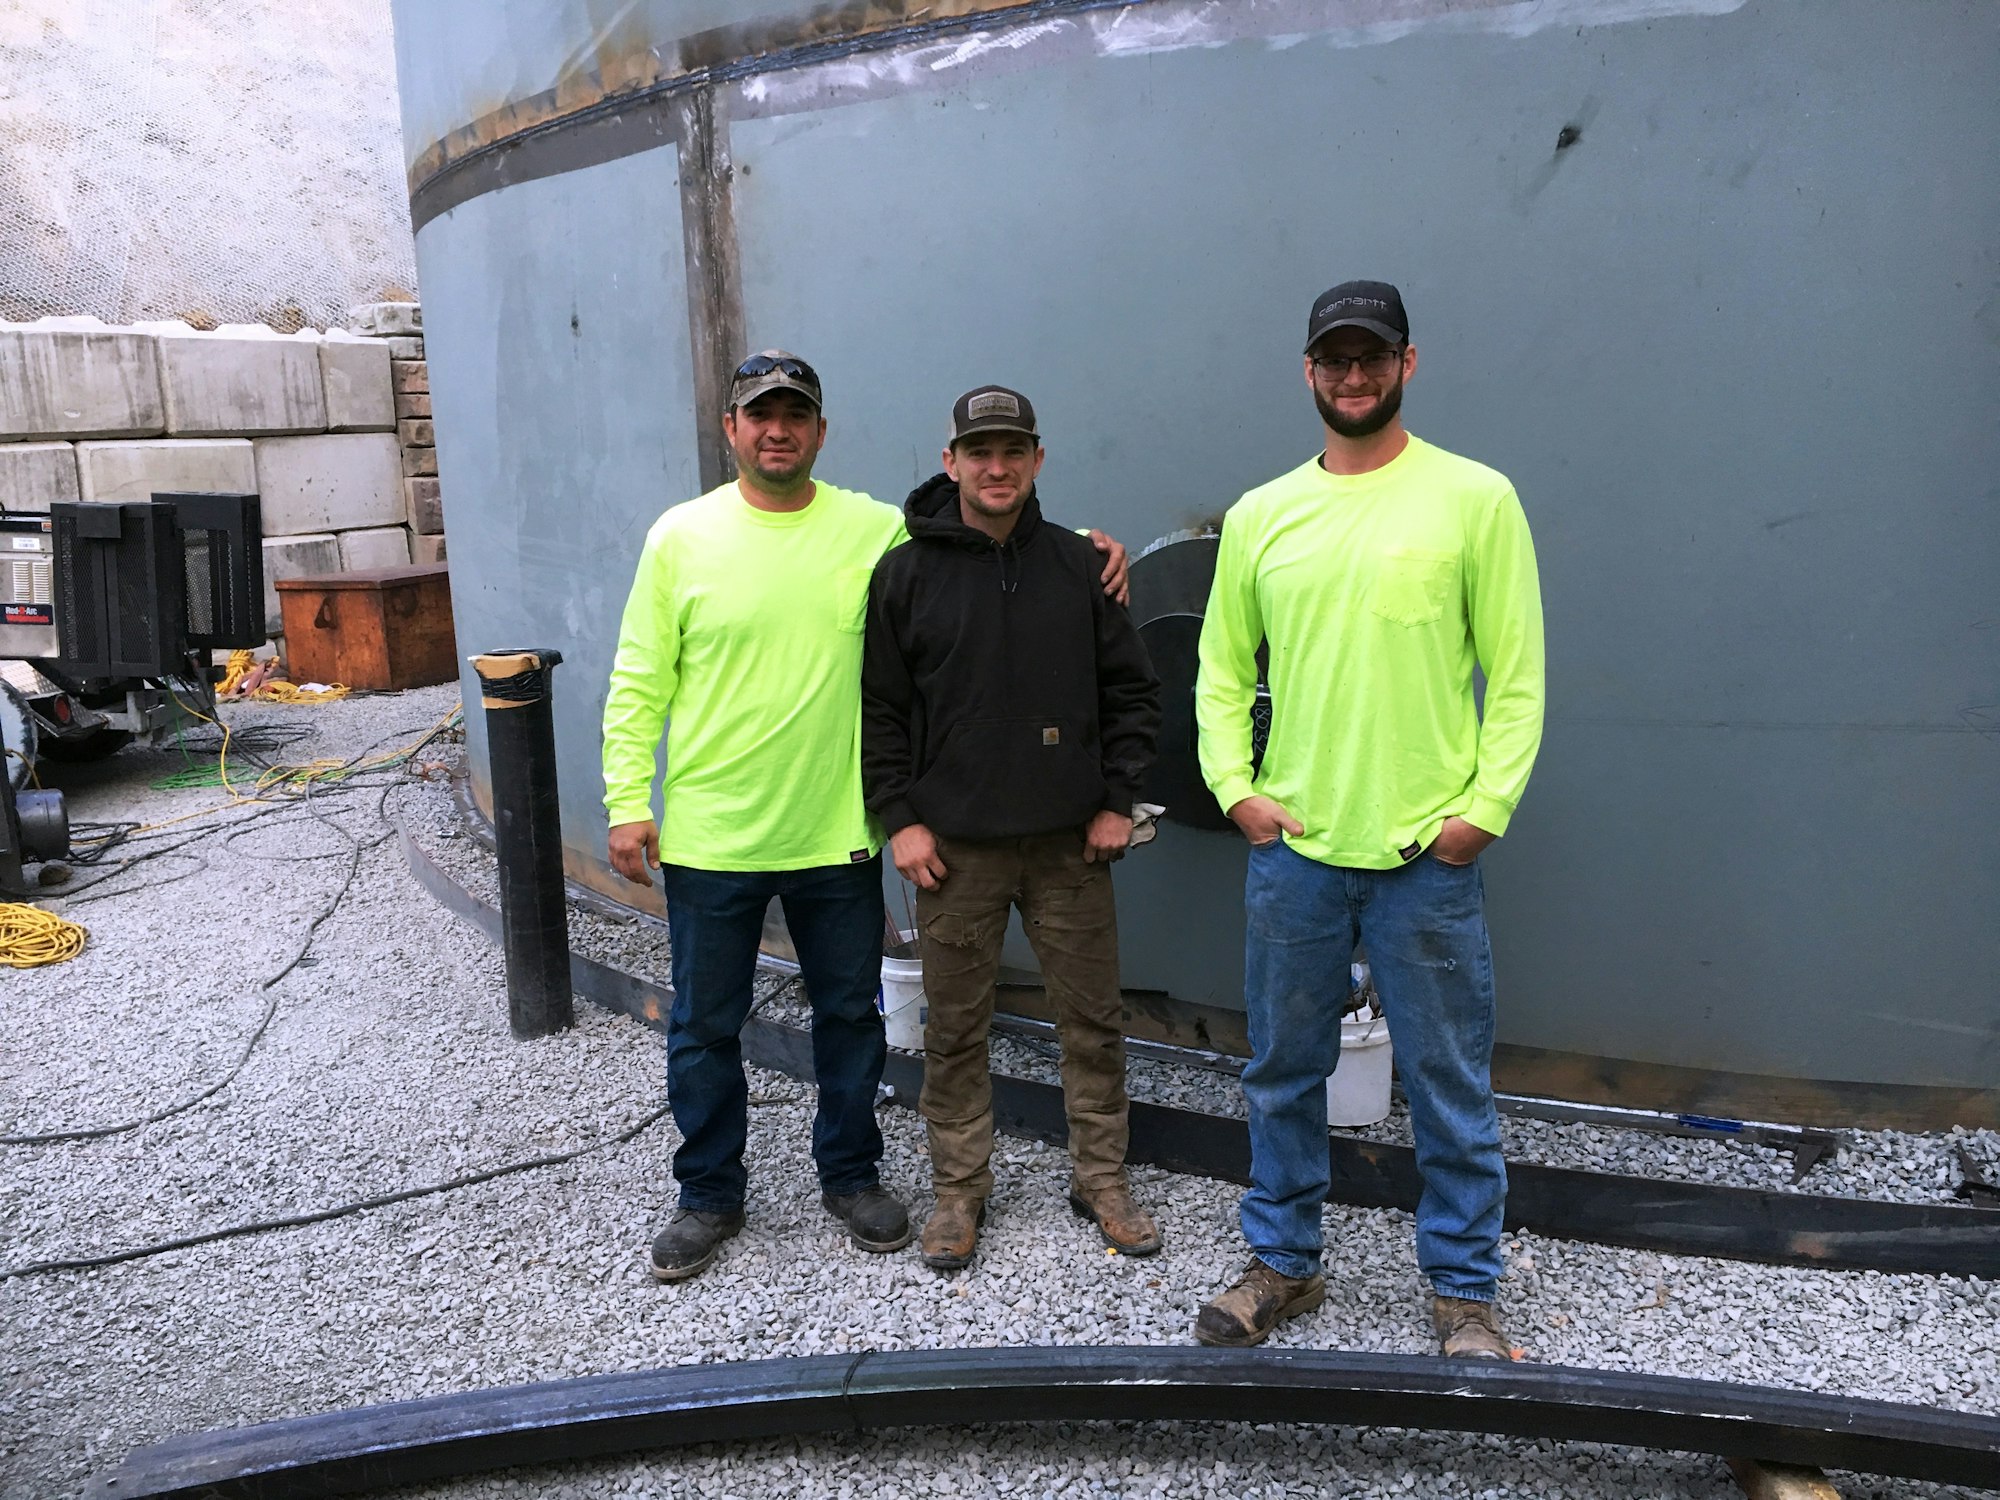
7/8 Ollie, Cody, and John begin work at 6am in order to finish in the early afternoon as a fire prevention measure. They are about to don their helmets and start welding!

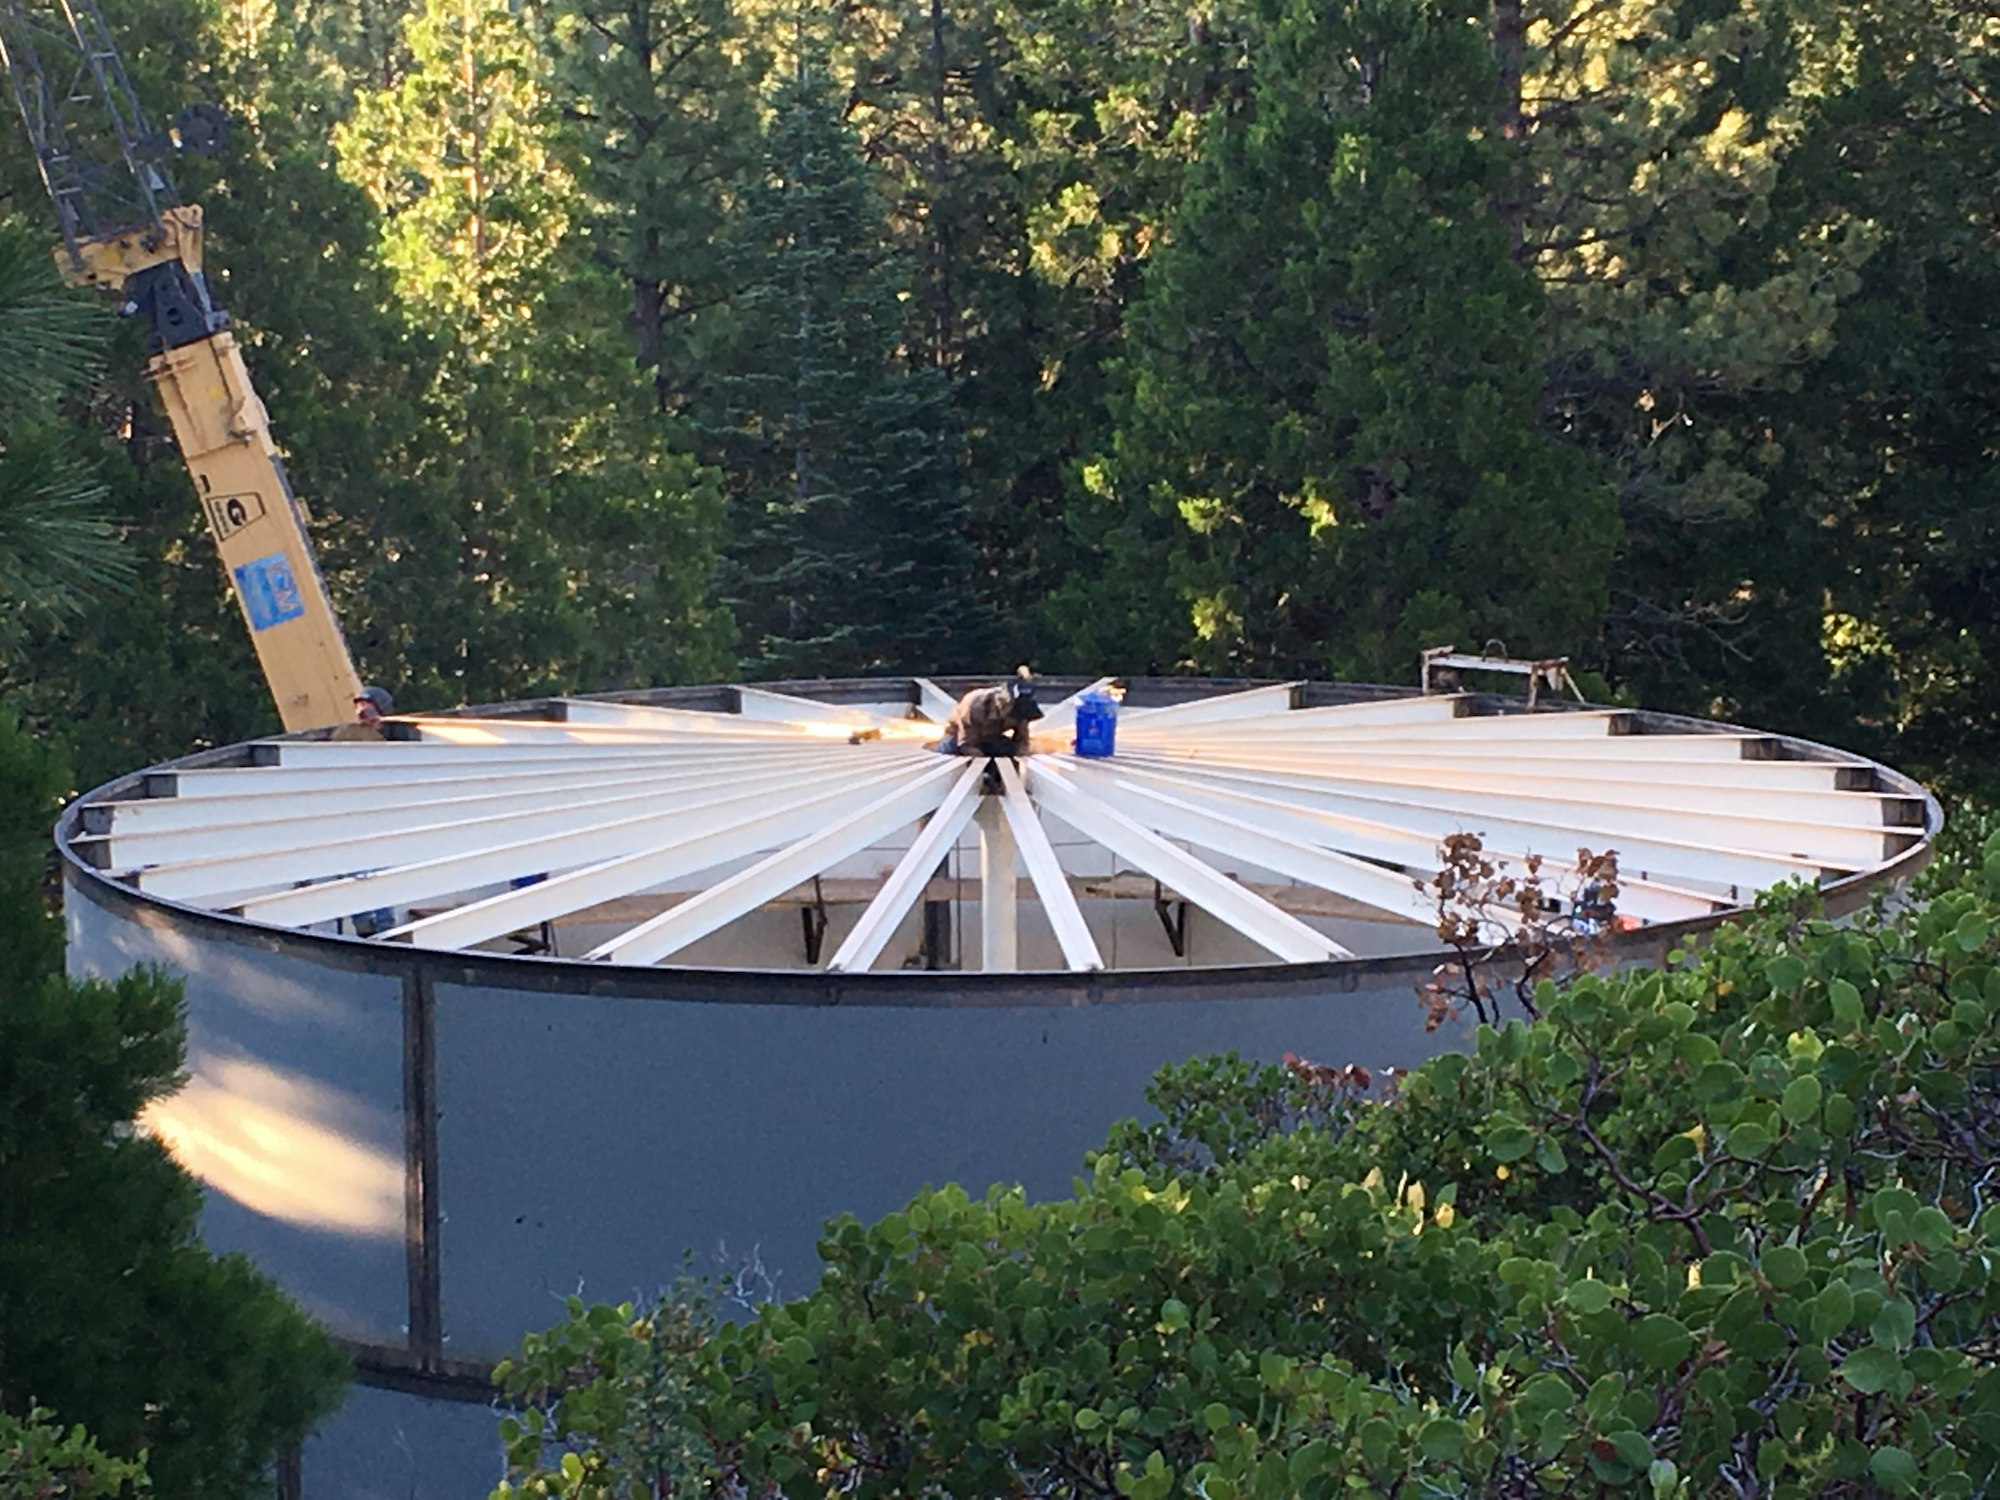
7/14 This tower will support the roof I-beams

7/17 The tower and I-beams in place and ready for top panels

8/1 Interior of fully welded tank showing pre-coated material. The tank will receive a full re-coating inside and out with multiple layers of material.

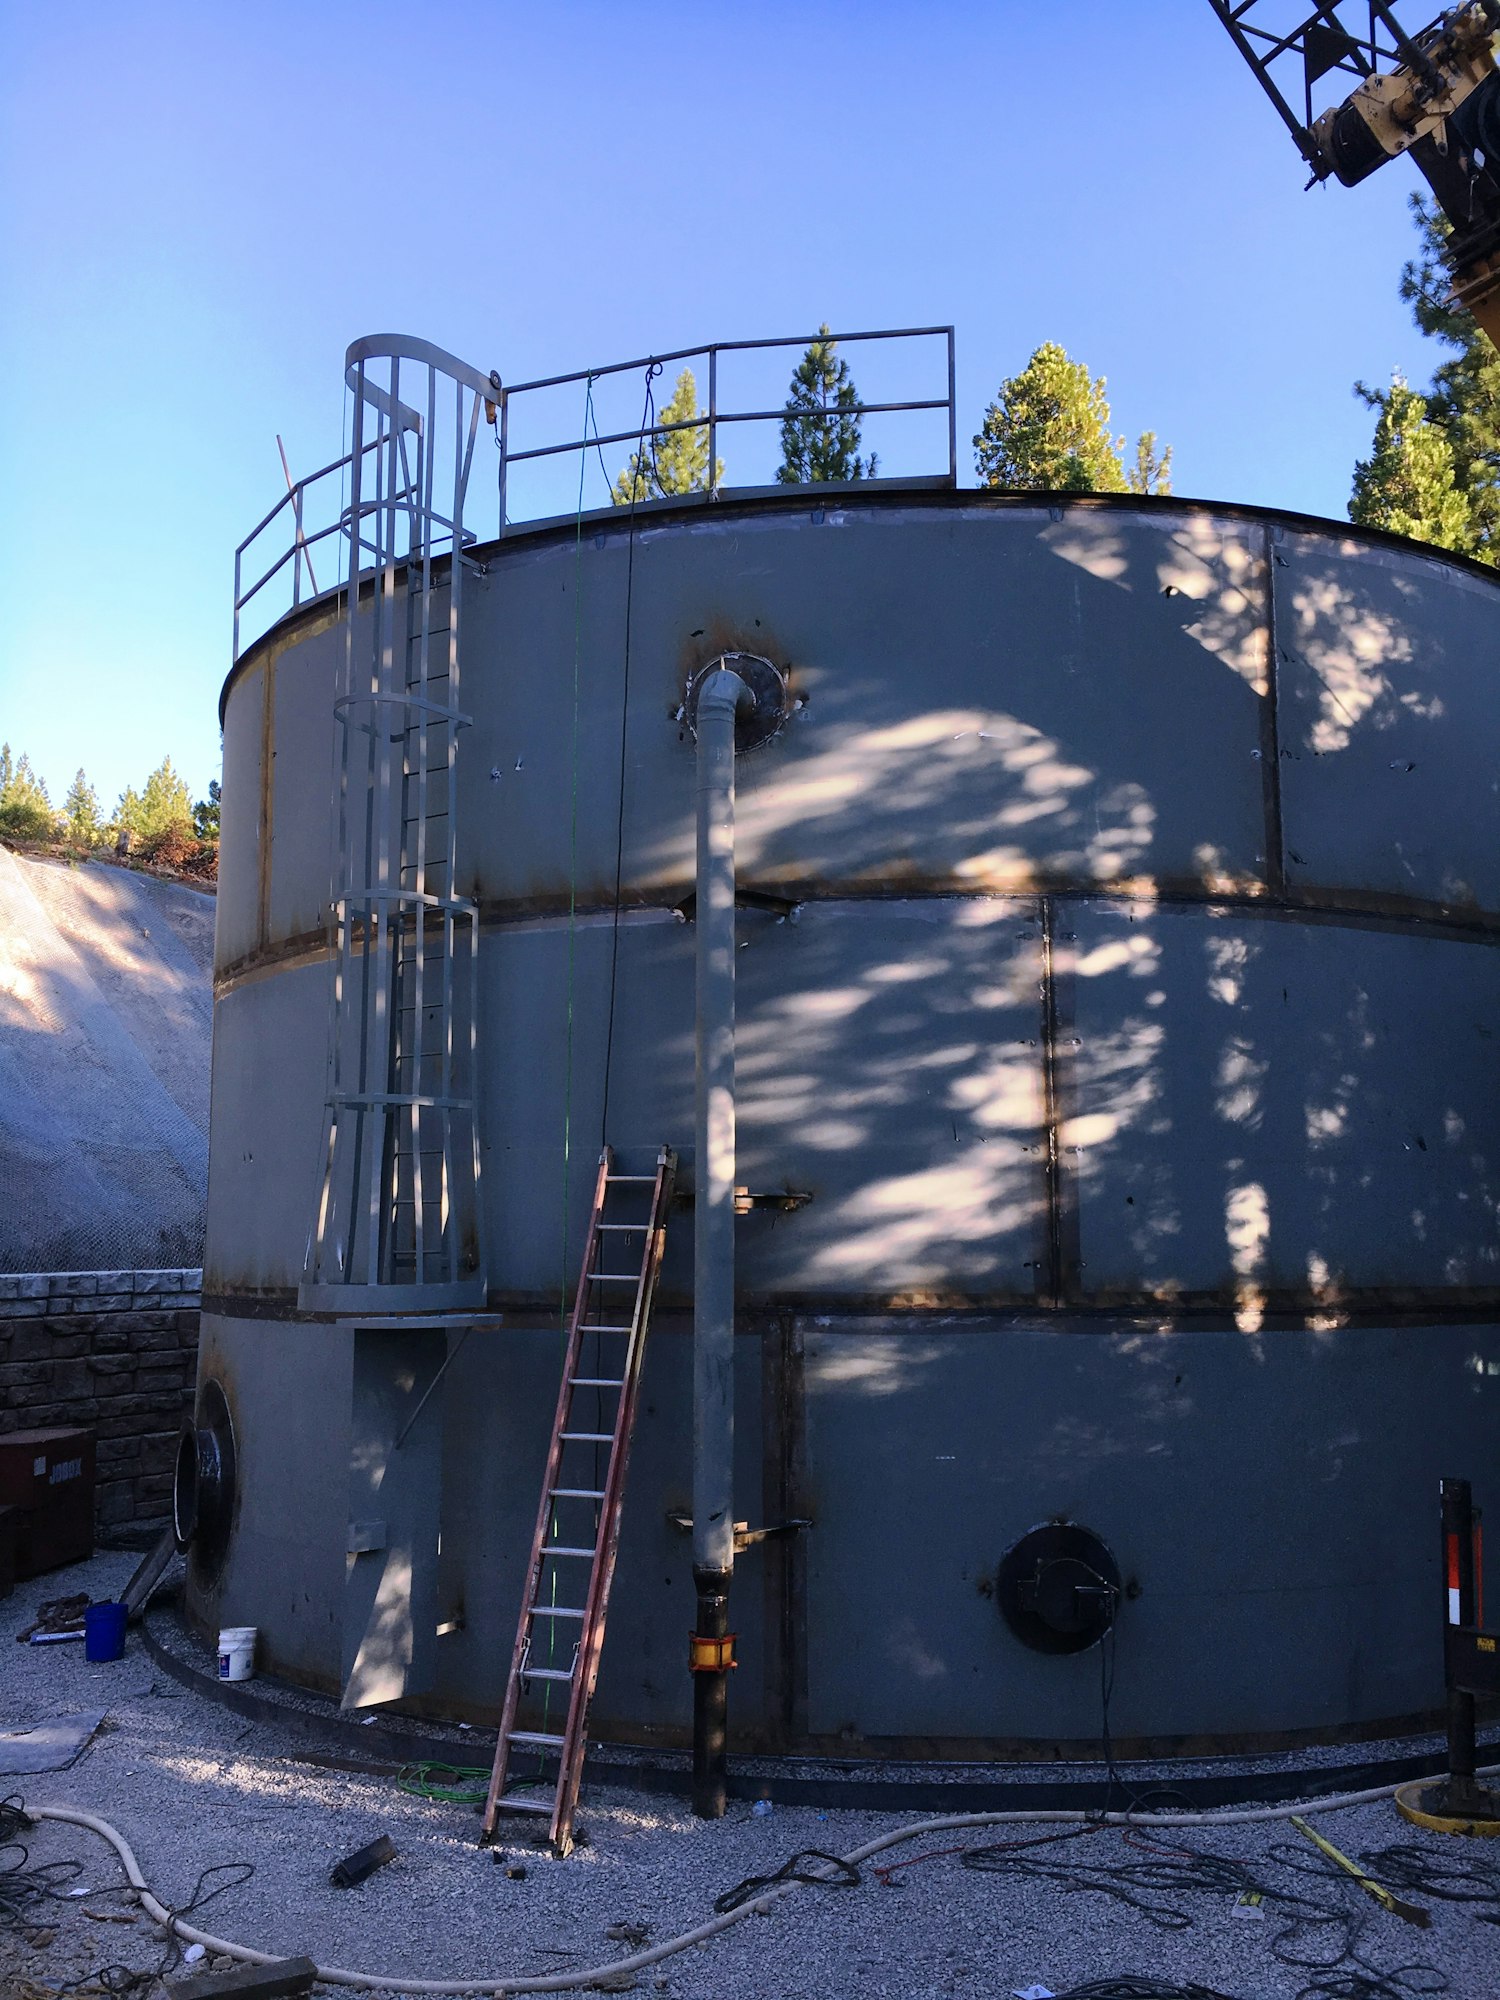
8/1 Exterior of tank showing ladder for top access and safety bars in place.

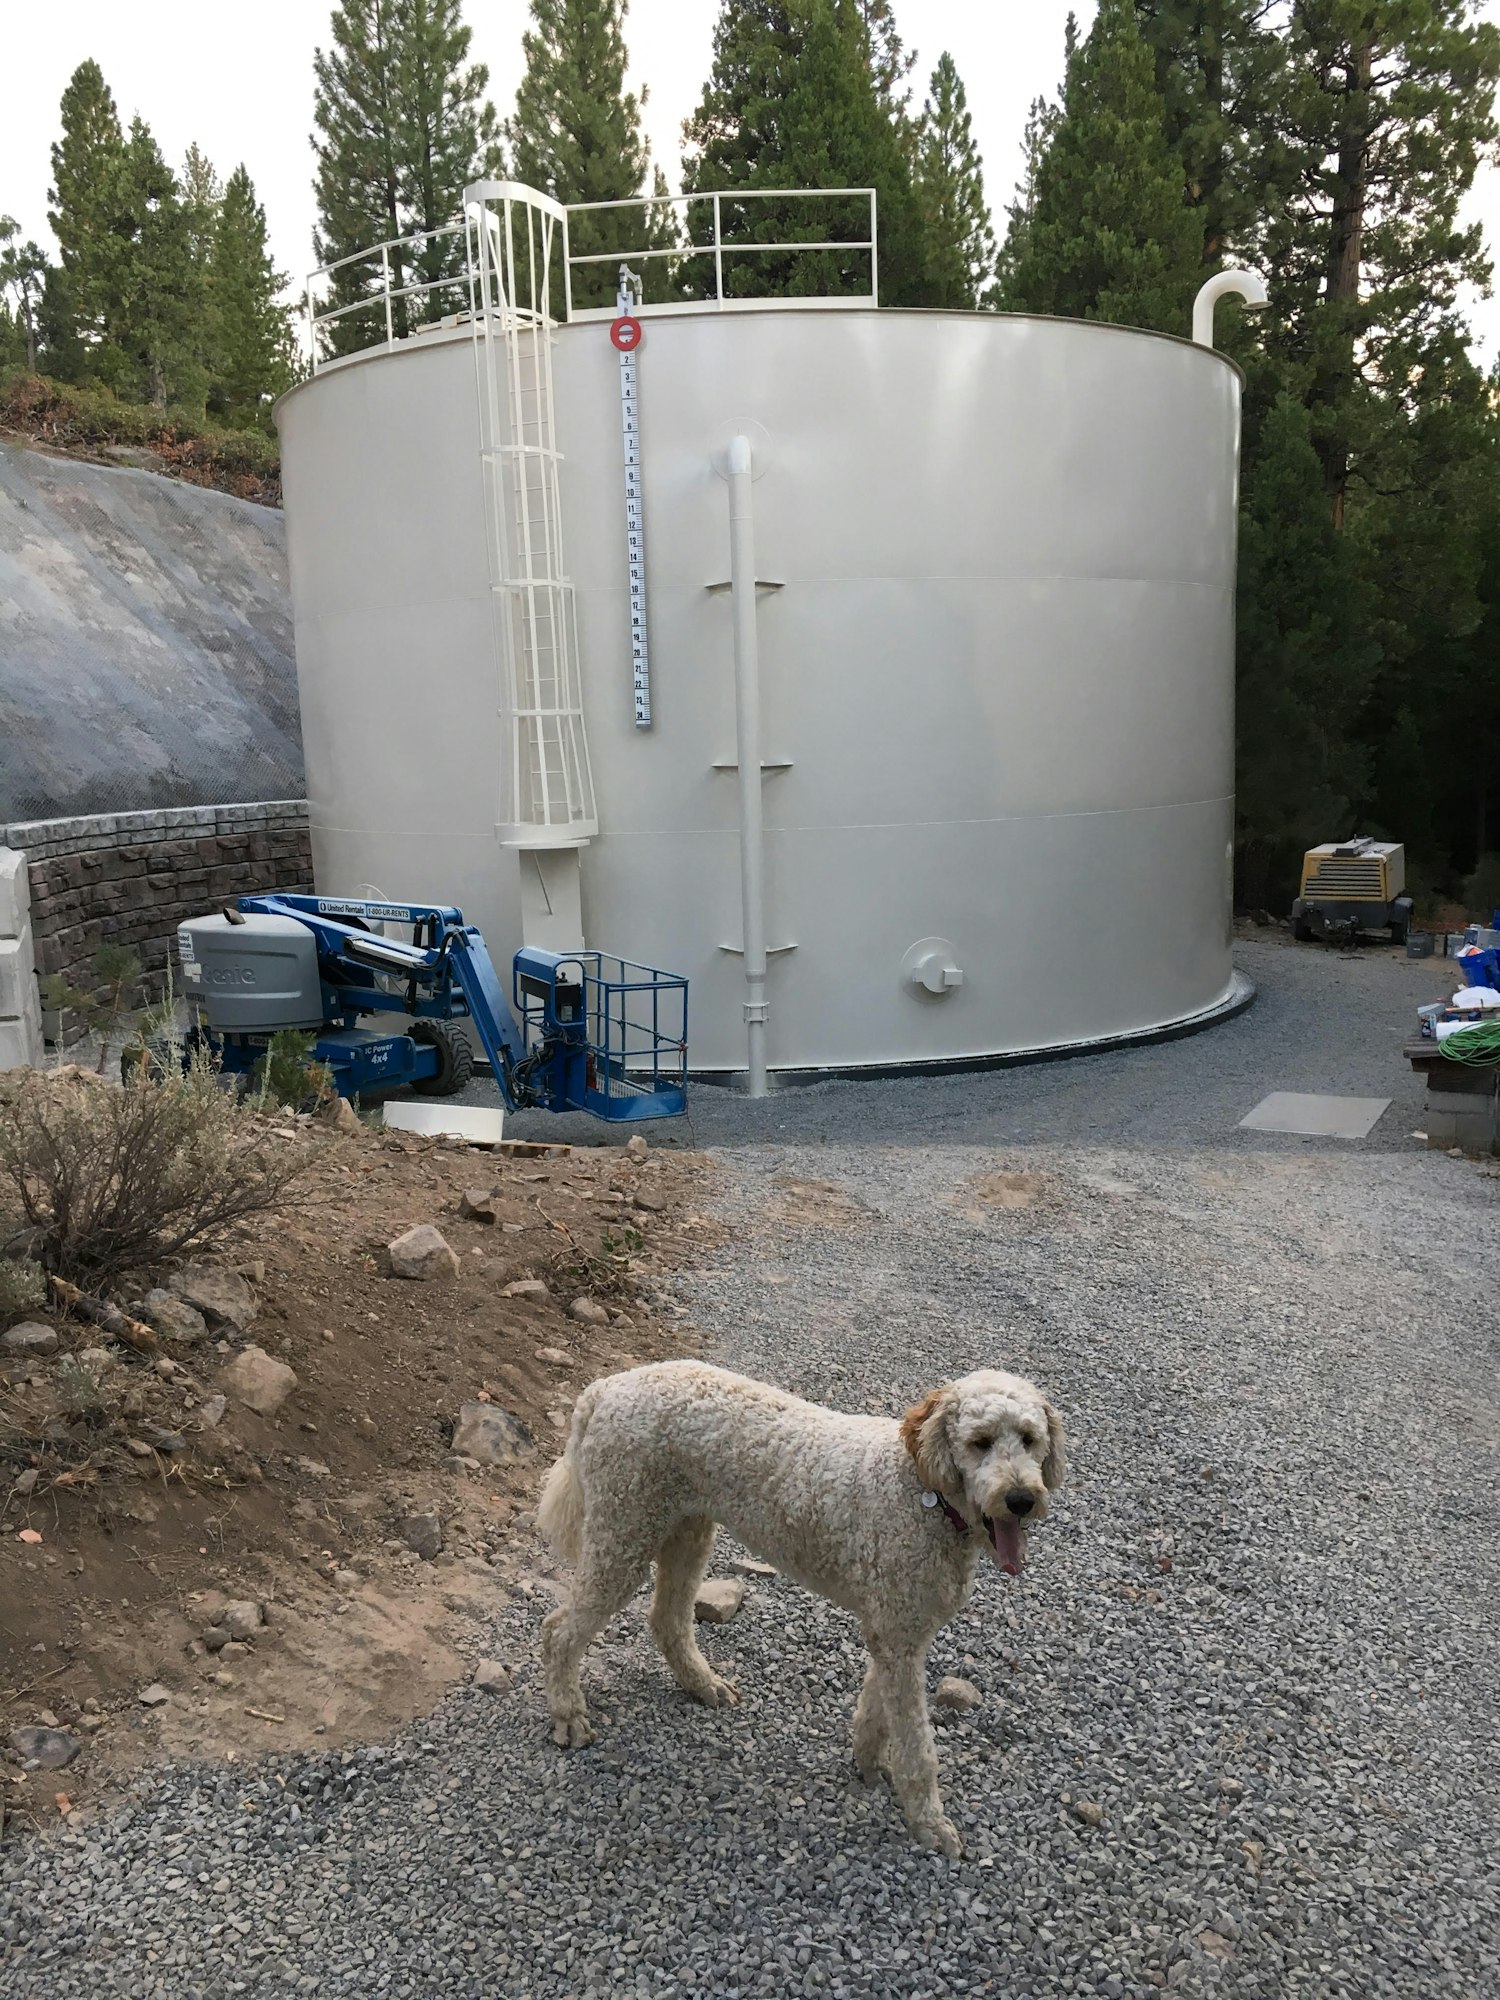
9/12 Final coat of paint applied to the outside. Time to fill er up!


